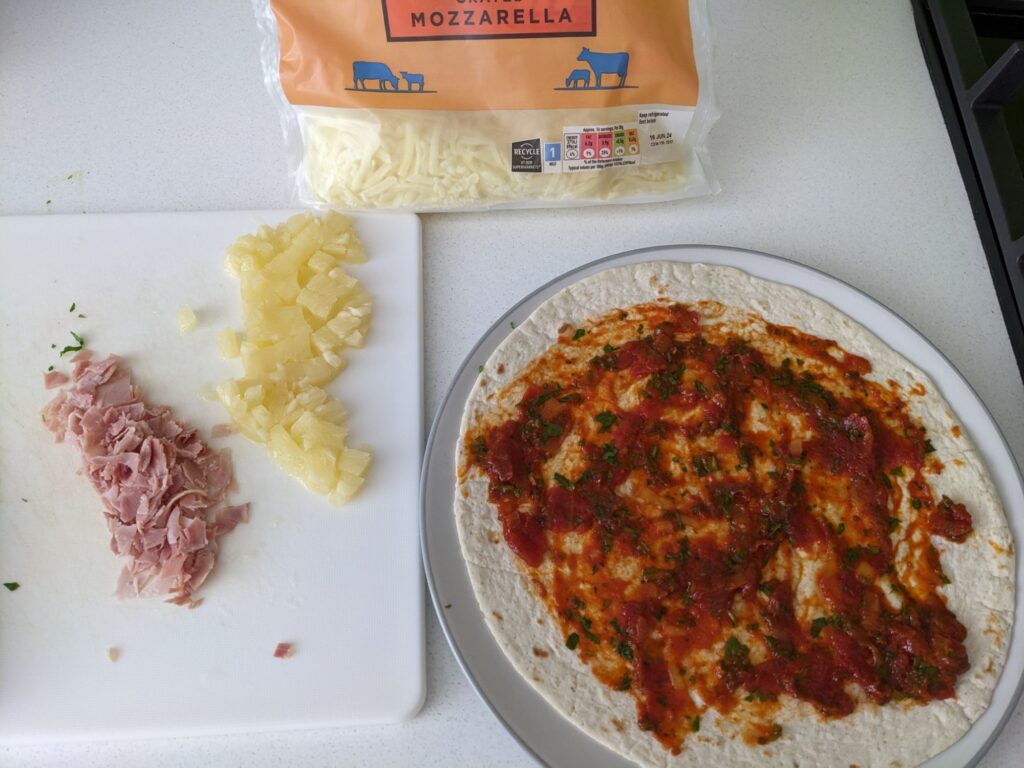
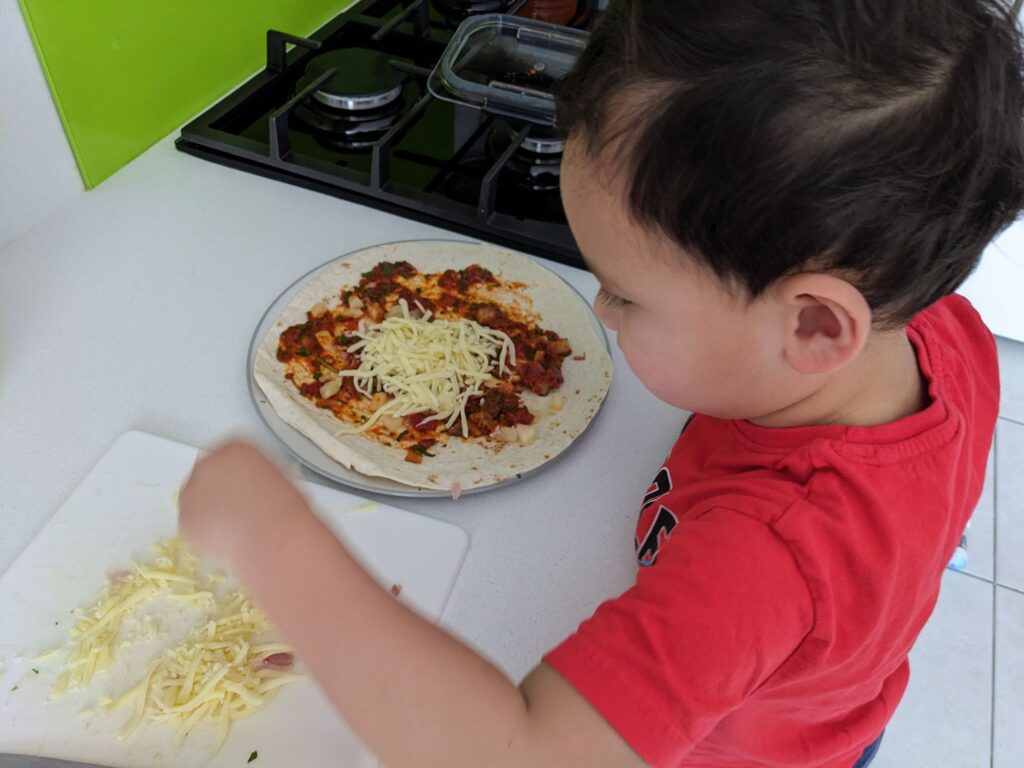
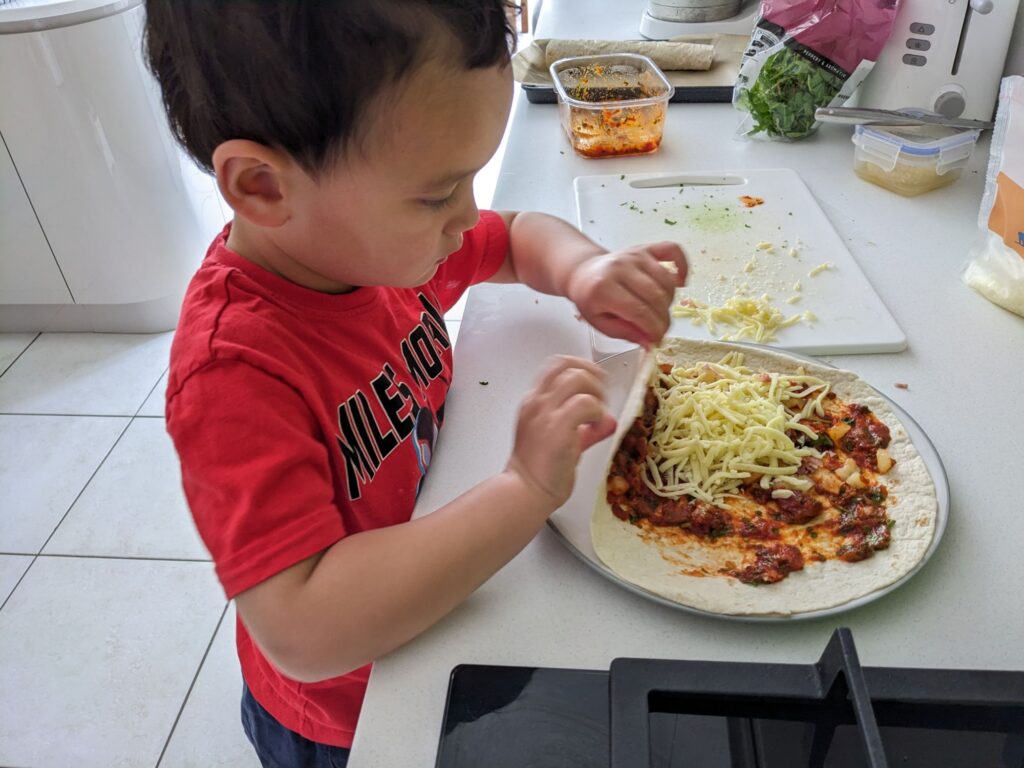
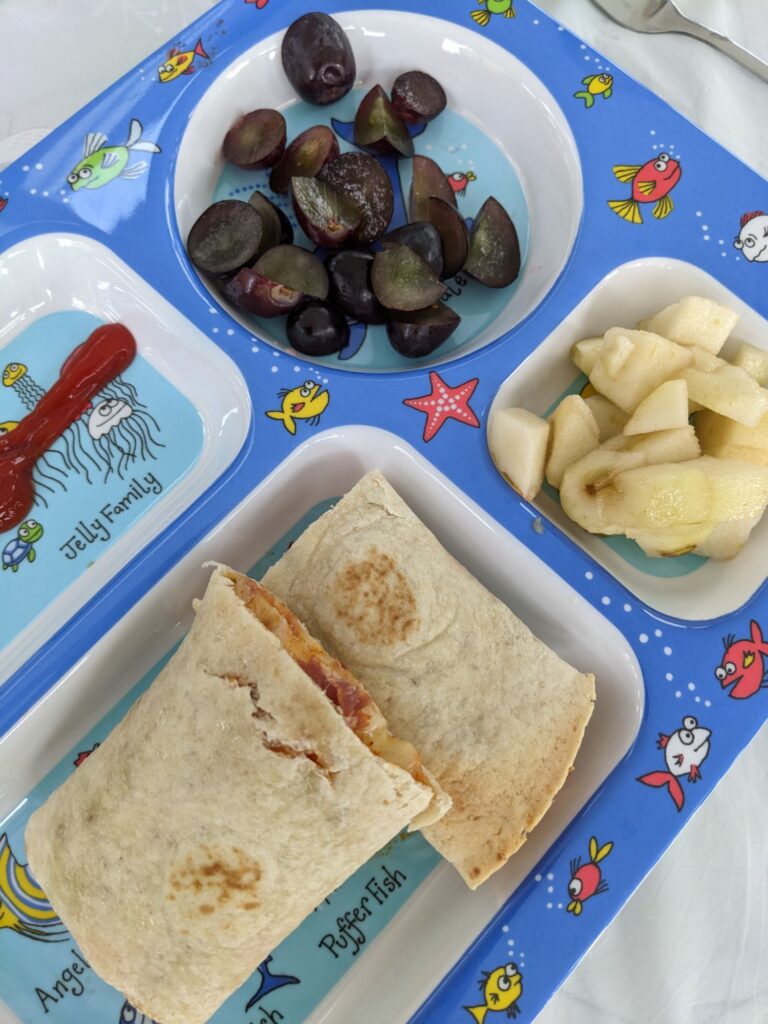
A quick, family friendly one this time that your little ones can help with. Everything on a pizza but using a tortilla wrap then warmed in the oven.
I also added some surreptitious veg on this occasion which was a bit risky – I had a bit of rocket leaves and chopped it up very fine before adding it to the tomato sauce. Fortunately the little one ate it as it was masked by all the other flavours! So definitely a good way of getting some veggies in.
On this occasion we added ham and pineapple to the ‘pizza’. You can add whatever topping you like or just keep it simple with tomato and cheese.
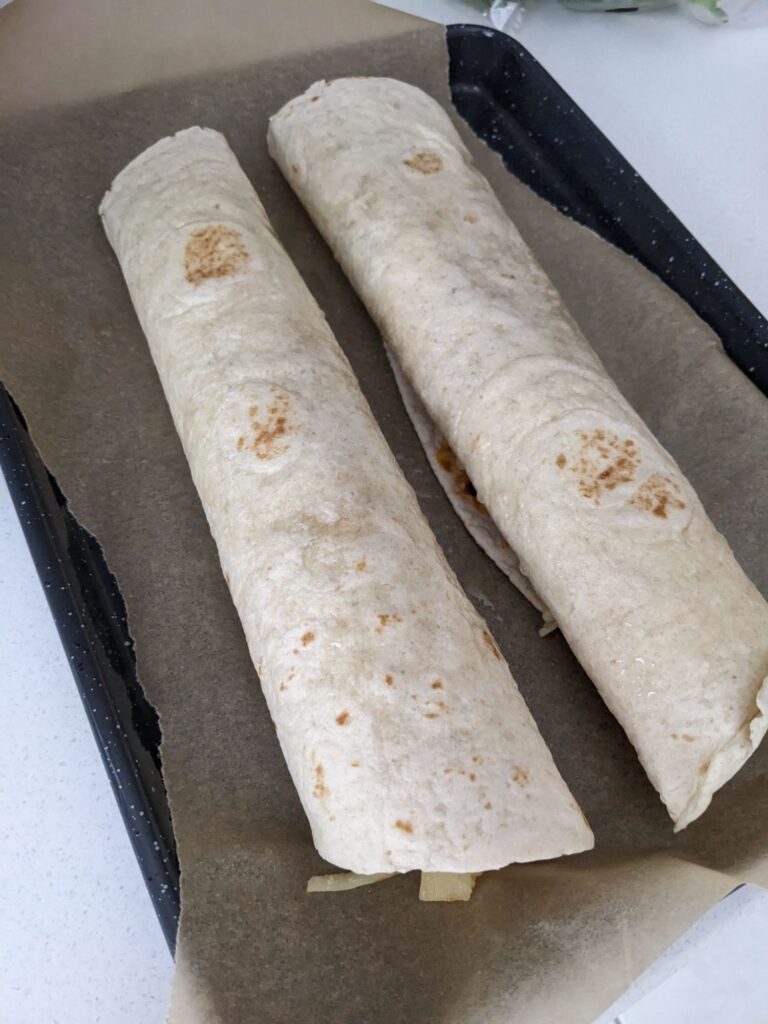
Then simply, roll it up. Spray a little oil on top of the wrap and put it in an oven at 180C for around 10 mins. These can also be cut into bitesize lengths perfect for parties as we tried recently.
Ingredients
Tortilla wraps
Homemade tomato sauce
A batch of this will keep for a week in the fridge. Sautee some finely chopped onion and garlic in olive oil. Add 2 tins of tomatoes and a spoonful of brown sugar. Simmer for around 20-25 mins on a low heat stirring occasionally. It will reduce down to spreadable consistency. Add salt and pepper to taste as needed (or if you’re cooking for a toddler, it should be tasty enough without).
With my upbringing, I was introduced to the distinctive tastes of Filipino cuisine from a young age. One of my most memorable dishes growing up is this spaghetti dish that I can still conjure up the taste of just thinking about it. It was only fairly recently that I realised it was a Filipino version of the spaghetti Bolognese. I just knew it as a sweet spaghetti dish that I could not get enough of when I was younger.
As I was thinking of stuff to make for my little one, I began to think back on what I liked to eat as a child and thought of ways of introducing it to the little man.
The authentic recipe of a Filipino spaghetti uses banana ketchup amongst other things. I only had store cupboard stuff that day so I played around with it and have managed to recreate that taste using nothing more than brown sugar (and not much of it).
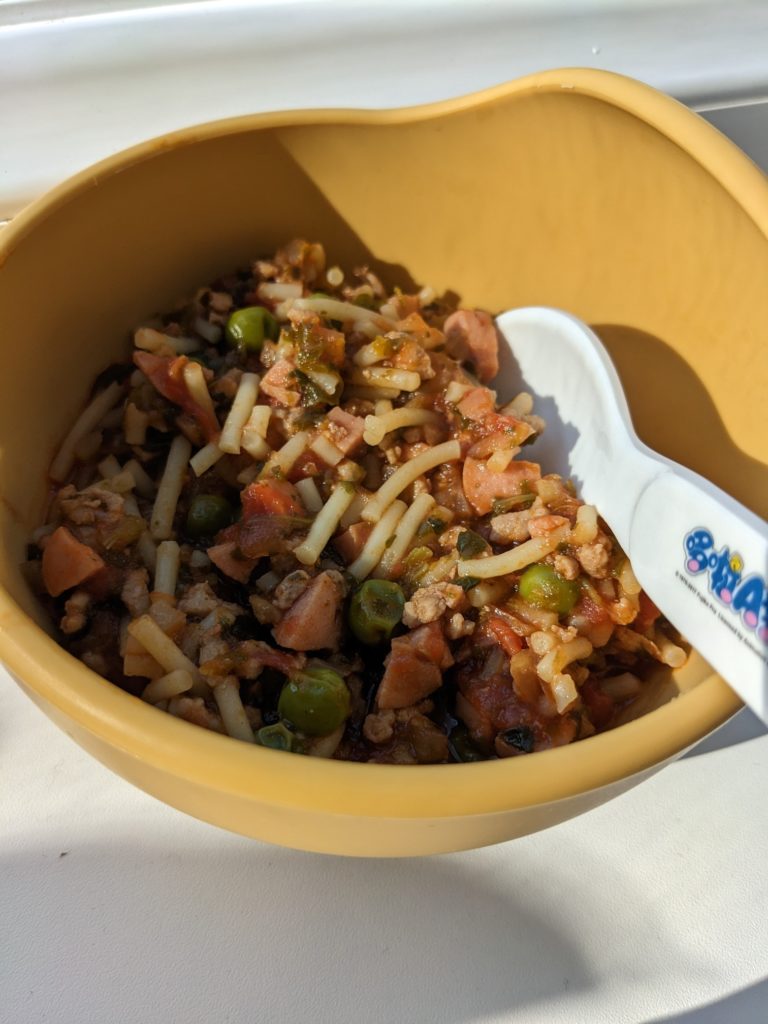
If you’re feeding older kiddies and not needing to hide vegetables in, it’s a great party dish in a massive bowl to share – that’s certainly how I remember it. The gems of smoky frankfurters and that deliciously sweet tang of a sauce. Yum!
This is definitely a firm favourite for our little one.
As usual, this recipe avoids the use additional seasoning and the flavour comes from sauteing your ingredients.
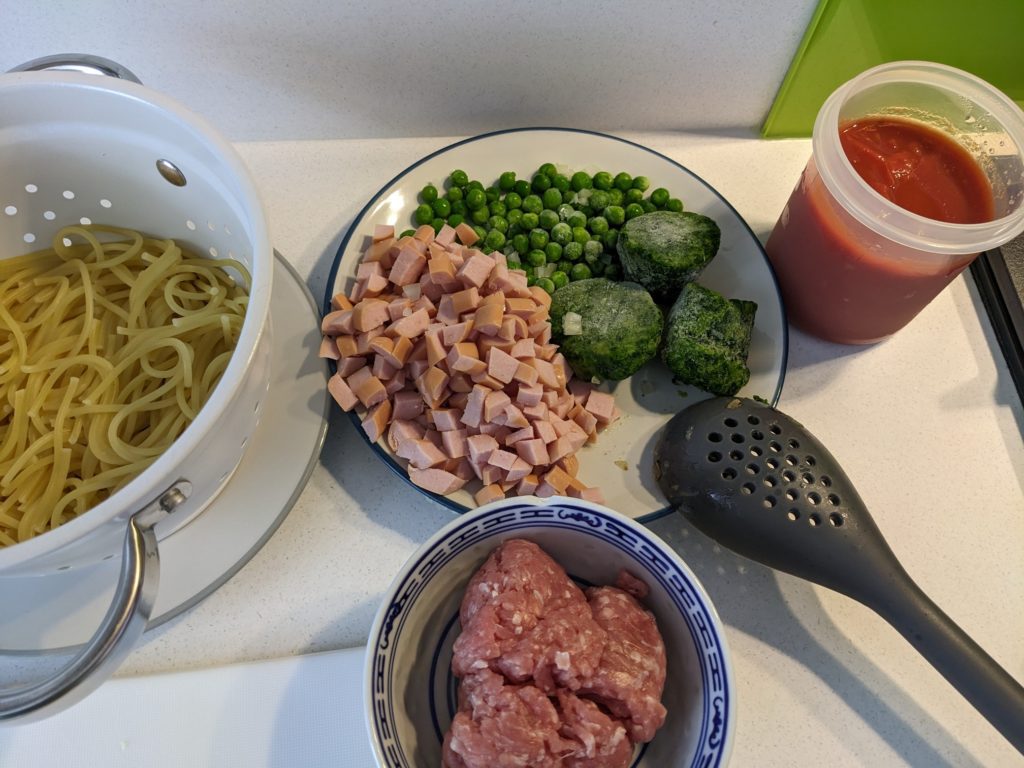
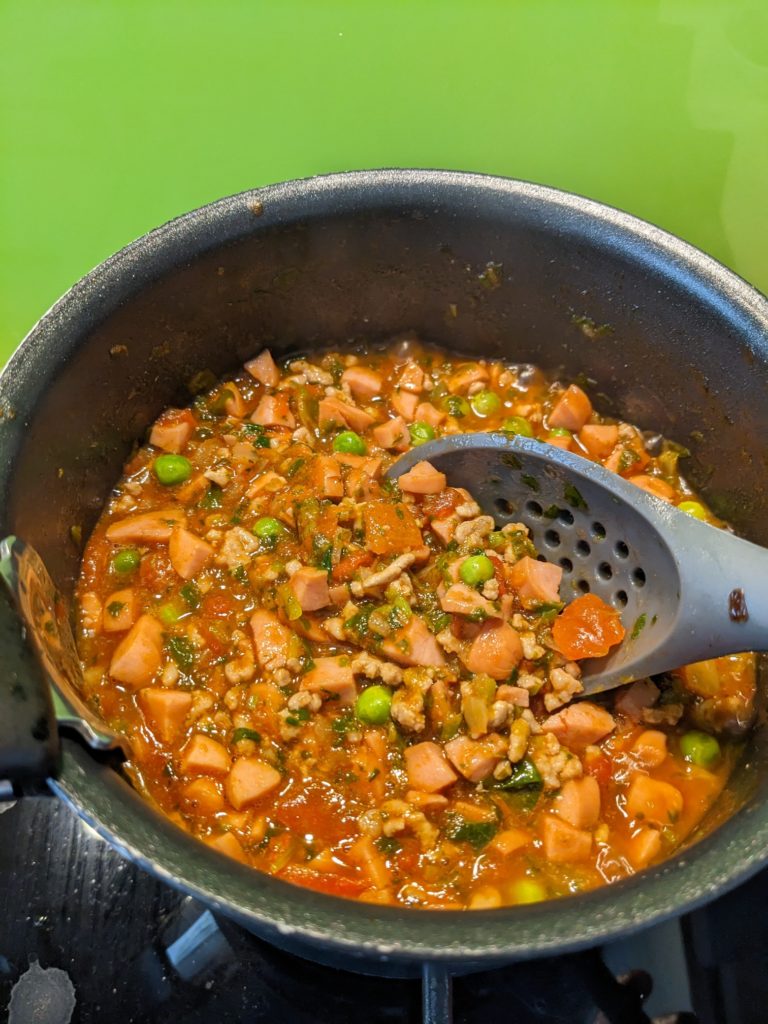
frozen spinach and frozen peas as my optional vegSauce bubbling away
Recipe
Main ingredients (adjust amount depending on how much you’re making. Judge the rest of the ingredients by how much spaghetti you want to make. Definitely a recipe that can be batch cooked and frozen into ice cubes or portioned):
Frankfurters – not the tinned or jar type, but proper ones eg Herta frankfurters – diced into approx 5mm cubes depending on your target audience!
Minced pork – I tend to go for the 20% fat ones rather than 10% or even less. I find the latter becomes very tough after cooking and all round less flavourful (as there’ll be no additional flavourings apart from the sugar as you’ll see)
Spaghetti – pre boil as per pack. Cut into desired lengths if necessary (or leave this to the end of you’re blending/pureeing)
Onion (1/3 or a half) – diced. Entirely optional
1 tin of chopped tomatoes in own sauce (400g tin)
Brown sugar (1 teaspoon to a tablespoon depending on how much you’re making) – light soft, or medium soft brown sugar. Just not Demerara sugar
Vegetables (optional) – anything you want – if you need to hide veg into your little one’s meal, this is one to do it. And anything frozen works well. Examples I’ve tried – combination of peas, frozen spinach works well, carrots (diced), sweetcorn, mushrooms
Method
To make the sauce, saute your onions in a medium sized saucepan with a drop of olive oil on a medium heat.
Once they’ve slightly browned and starting to caramelise, add the minced pork and saute in the same way. (Once the initial moisture is drawn out from the pork, they’ll start to brown which is what you want).
Add the frankfurters and fry for a 3-4 mins.
Add the tin of tomatoes, then any veg if using.
Depending on how big a batch you’re making, add anything between a teaspoon to a tablespoon of brown sugar (err on less, don’t need much of it)
Depending on how watery your tomatoes are, what veg you use, you may need to add a little water (pasta water would be best) to bulk out the sauce (but not too much, you don’t want it too watery).
Place the lid on and let it simmer on a low heat for about 15-20 mins.
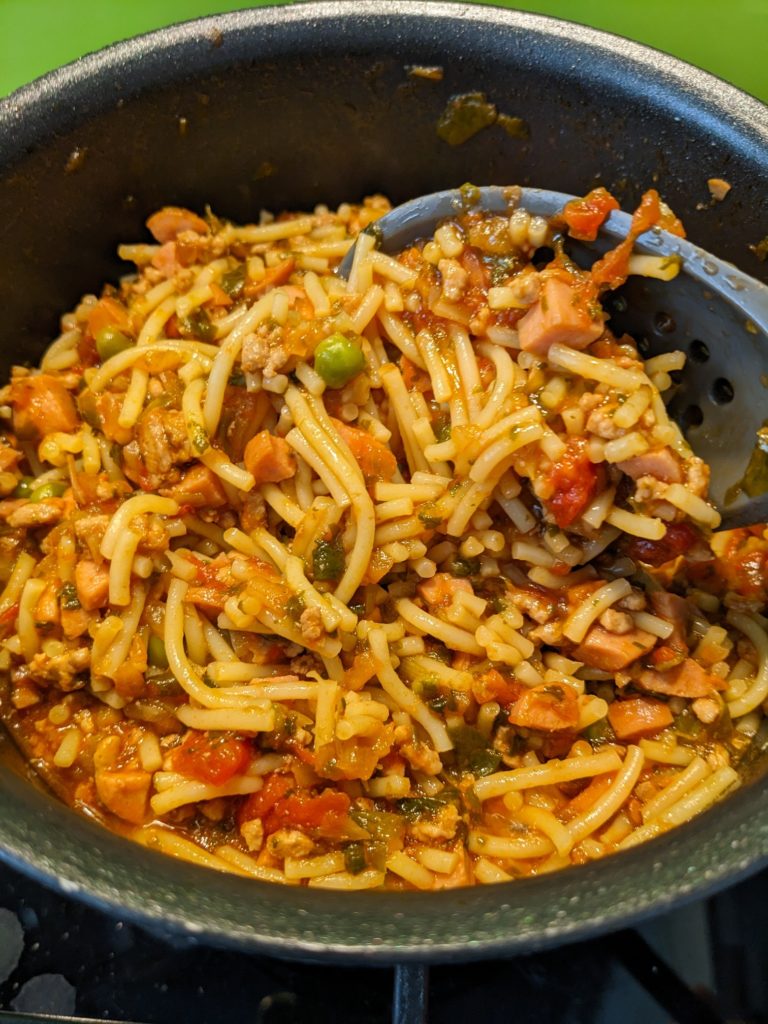
Add your spaghetti and stir through the sauce. Voila!
Spaghetti added to the simmered sauce
Your sauce should taste like a slightly meaty tomato sauce with a hint of sweetness.
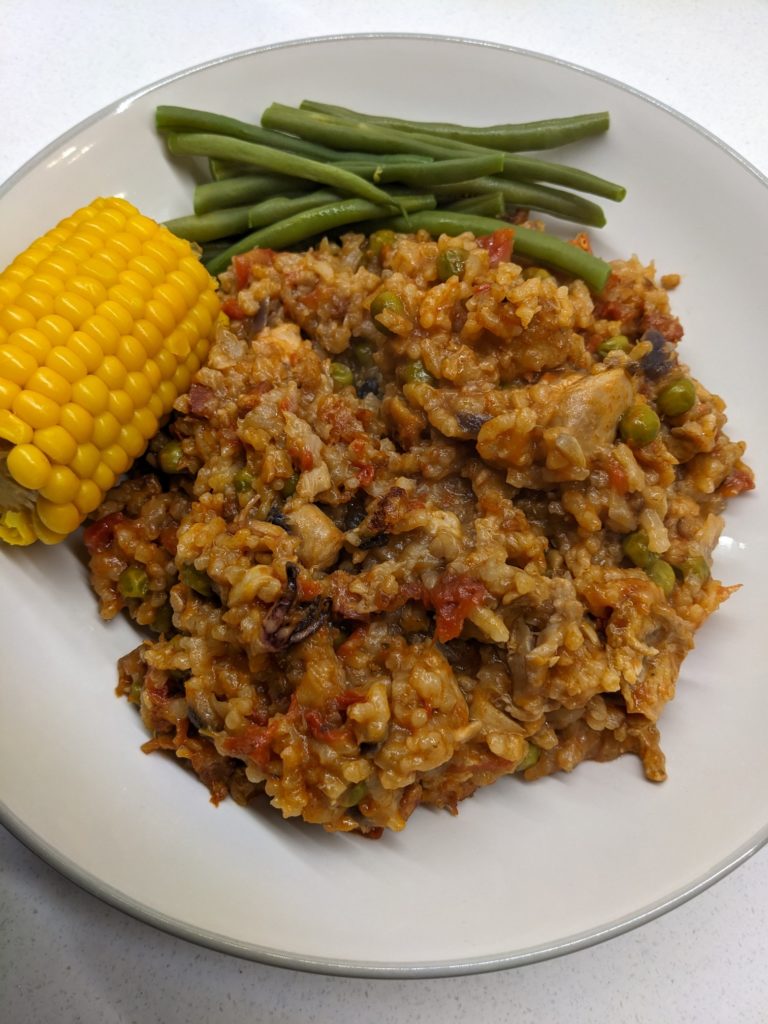
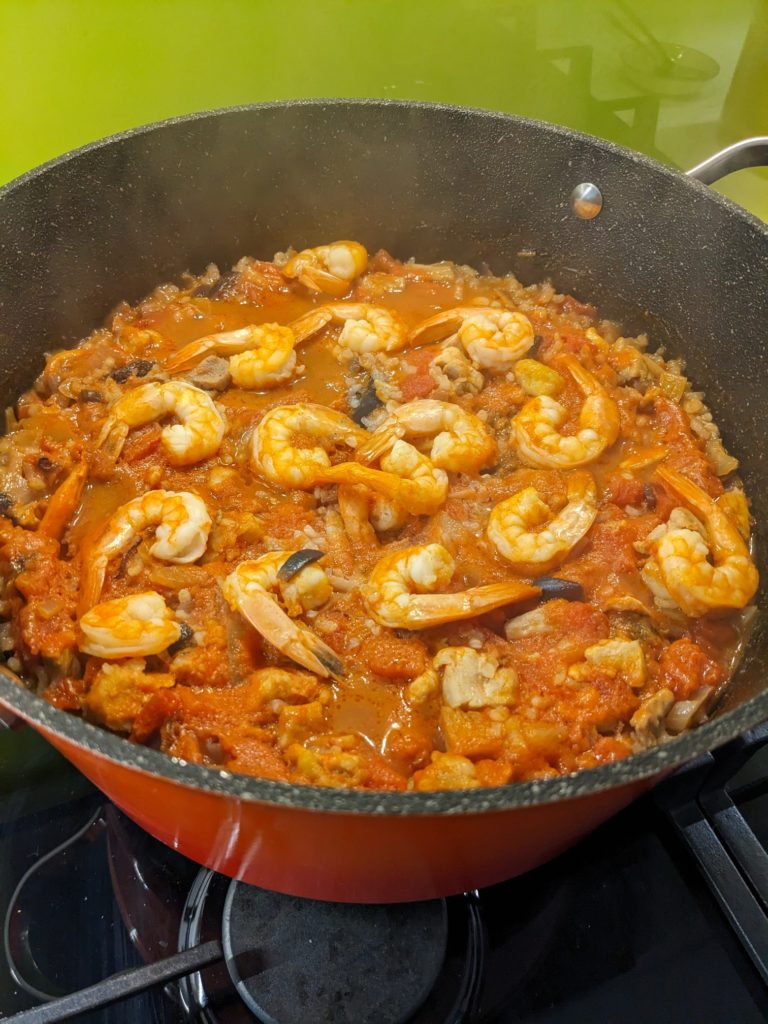
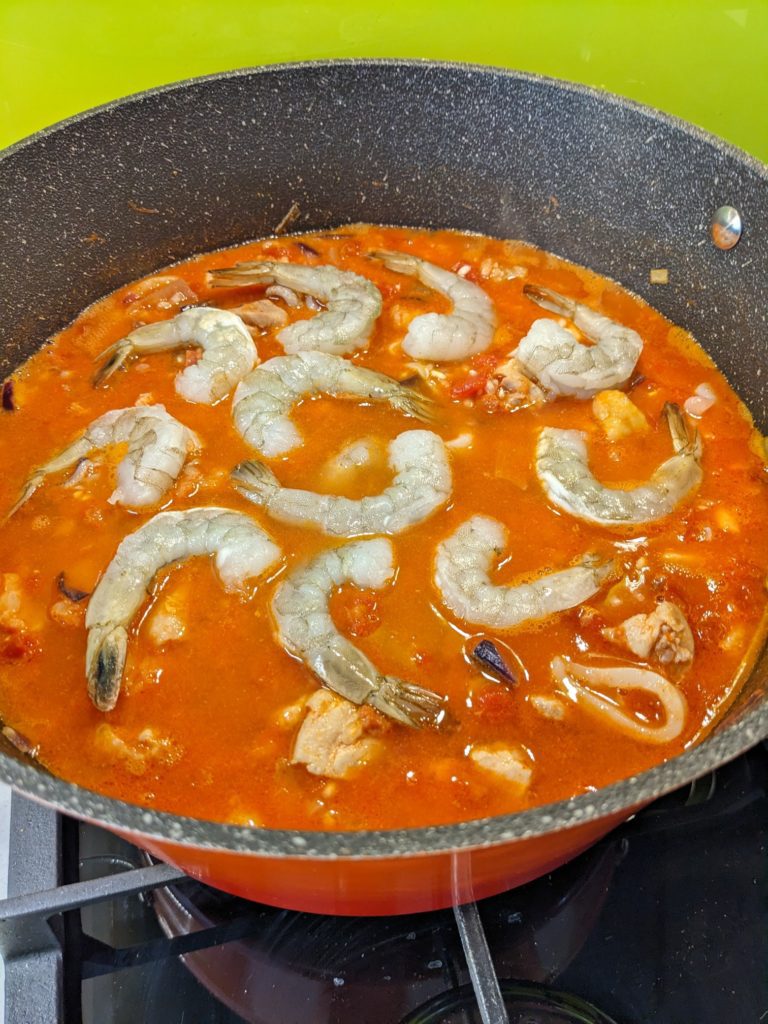
Not a traditional paella of course, but the modified paella recipe is a very versatile vehicle for adding whatever it is that you have to hand. The origin of it is similar to the fried rice in Asian cuisine, or risotto in Italian cuisine – a rice dish with whatever you have or is in season.
Usually I make it with just chicken and chorizo, or just seafood. But I both meat and seafood to hand so decided to do a bit of a ‘surf and turf’ paella. As I have been doing recently, this recipe has no added salt so is toddler and children friendly. If someone is allergic to seafood or you simply don’t like some of the ingredients, just don’t add it. It is unlikely to make the recipe less tasty as long as you’ve got the paella rice in there!
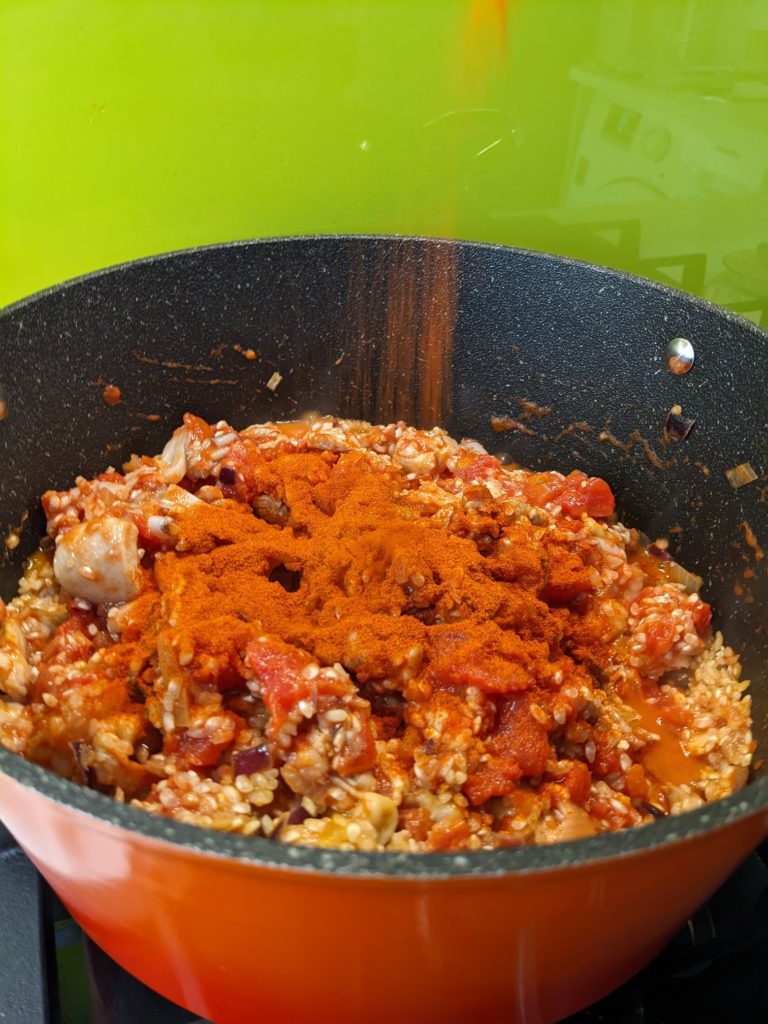
This is a one pot recipe for the busy family. Making enough for leftovers and freezer friendly into portions or ice cube trays ready for your little ones. I’ve added pimenton (Spanish paprika) for taste and colour but feel free to miss it out if you don’t have any or don’t want to use it. Even though this recipe uses no stock or added salt, you’ll be surprised how flavourful it is, purely from the ingredients that you use.
I will confess that cooking Chinese food is not my strong suit. I therefore have to usually rely on cook books if I wanted to make anything slightly authentic. At least to give me an idea and guide to what I’m doing.
I was very excited to finally get my hands on my very good friend George Wong’s (Instagram) cookbook during my recent, long overdue trip to Hong Kong.
88 Dishes of George (王子的88道菜)
As the name suggests, it has a staggering 88 recipes in this treasure trove of authentic Cantonese and Chiu chow dishes that have been perfected by George over the years. Ranging from Chinese soups (broths), main dishes such as salted egg prawns, sauces, to his signature dish – Hainese Chicken 🐔.
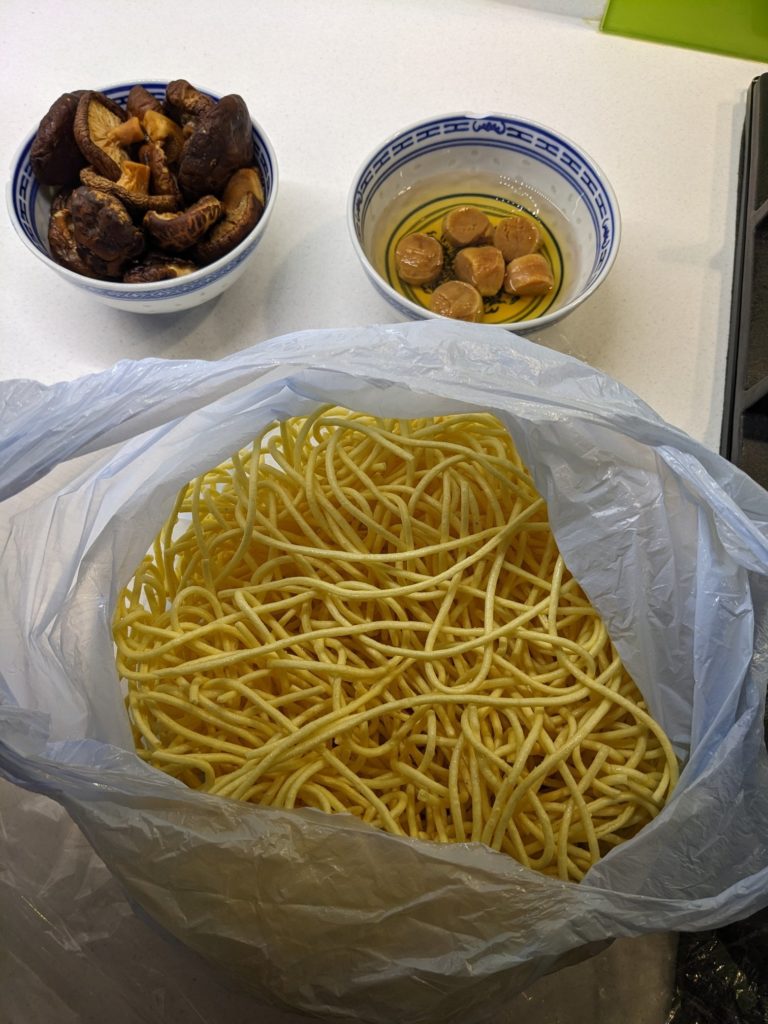
On this occasion, I was lucky enough to get my hands on some fresh E-fu noodles from Hong Kong. E-fu noodles (伊麵 – yee mein) is a flat Cantonese egg noodles made of wheat floor that are sold in rounds in a stack. They frequently feature as part of Chinese banquets as well as the accompaniment to lobster dishes as they soak up sauces quite well whilst still retaining their texture.
So I had some E-fu noodles and needed to make a quick dinner midweek after putting the 👶 to bed which took quite a while that particular evening. I decided to look through George’s cookbook which had a recipe for Braised E-fu noodles (乾燒伊麵) as I had never cooked with yee mein before and didn’t even know you had to parboil it to soften it and get rid of the oil that coats the dried rounds of yee mein. So that was a really useful tip.
I decided to also raid my store cupboard and found some dried Chinese mushrooms (東菇) and dried scallops (also know as Conpoy or 瑤柱). These had to be soaked beforehand to rehydrate them. I kept the soaking liquids from the mushrooms and scallops to use in the recipe instead of water and stock as suggested by the recipe.
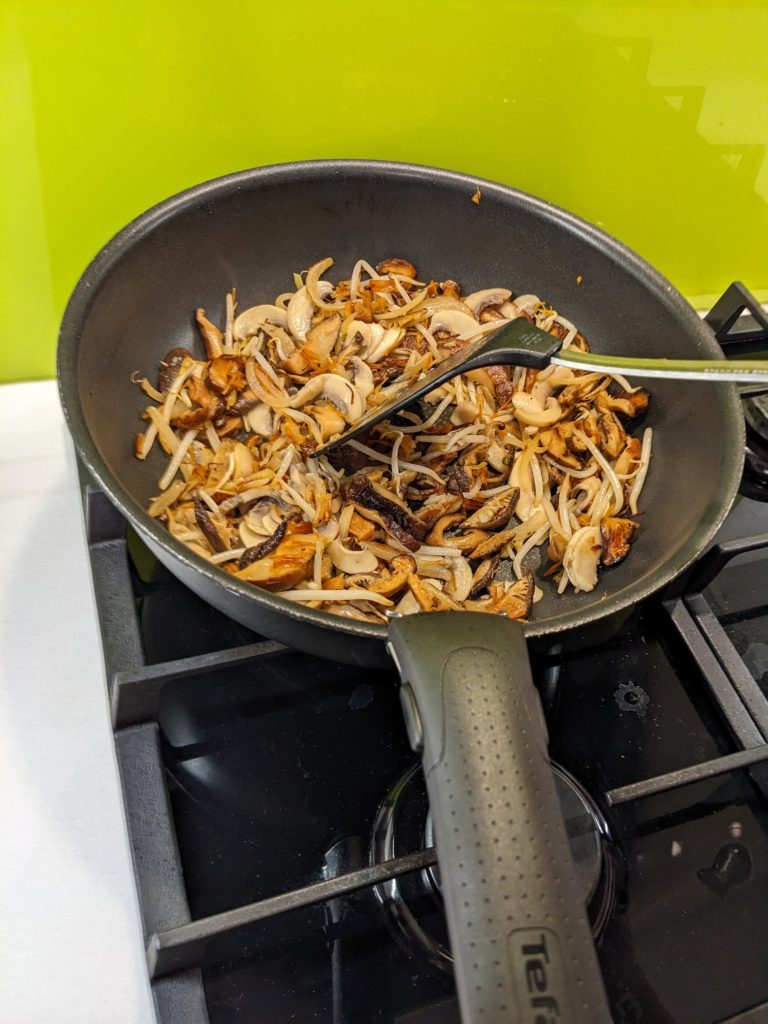
And then it’s just a case of getting all the ingredients chopped and ready before starting to cook which is a must for any Chinese recipes involving frying as you need a hot wok which cooks everything very quickly. So if you’re having to chop your mushrooms up whilst other ingredients are sauteing, the other ingredients will burn.
As usual, I deviated from the recipe a bit but kept to the spirit of it using mushrooms. It was also helpful to have a guide on the quantities for the sauce consisting of oyster sauce, sugar and soy sauce. But as mentioned earlier, rather than using stock and water, I used the flavoured soaking water from the Chinese mushrooms and dried scallops which added the layer of umami taste to the noodles.
When using dried scallops in this way, always make sure you fry it off with a little oil with your starter ingredients such as onion and garlic. You’ll be able to smell it once the scallops heat up. Same with the Chinese mushrooms before you add any other fresh mushrooms you might be using in your recipe.
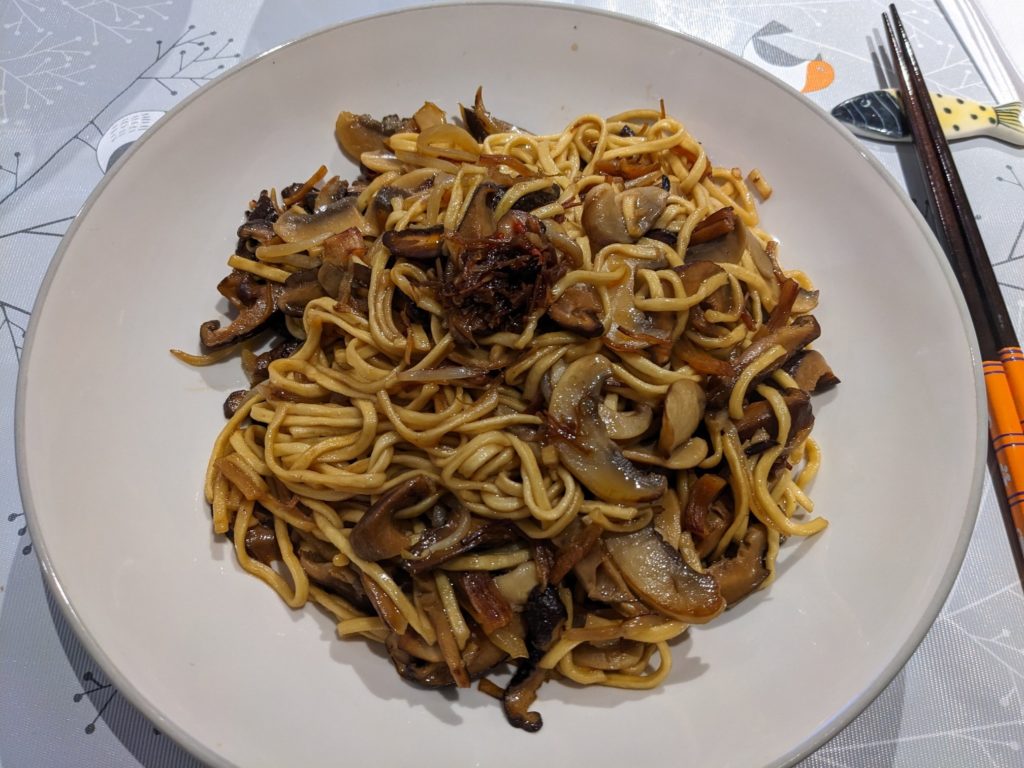
The whole process including parboiling the yee mein took 15-20 minutes (Chinese mushrooms and scallops were soaked beforehand). Perfect midweek dinner.
Can’t wait to try another recipe from this cook book soon!
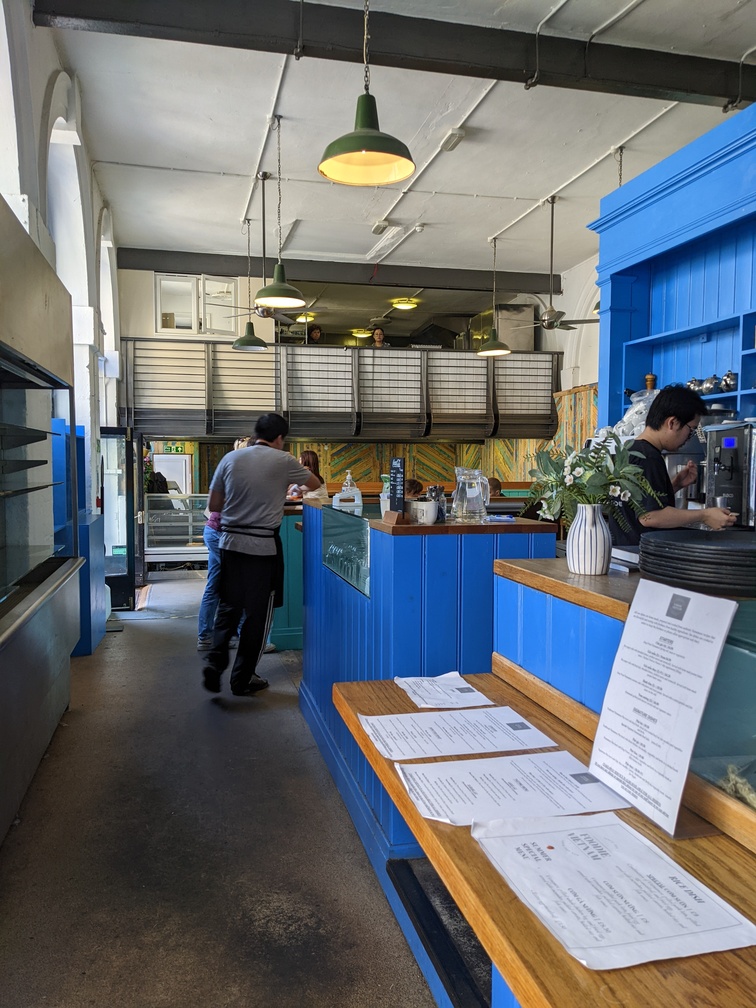
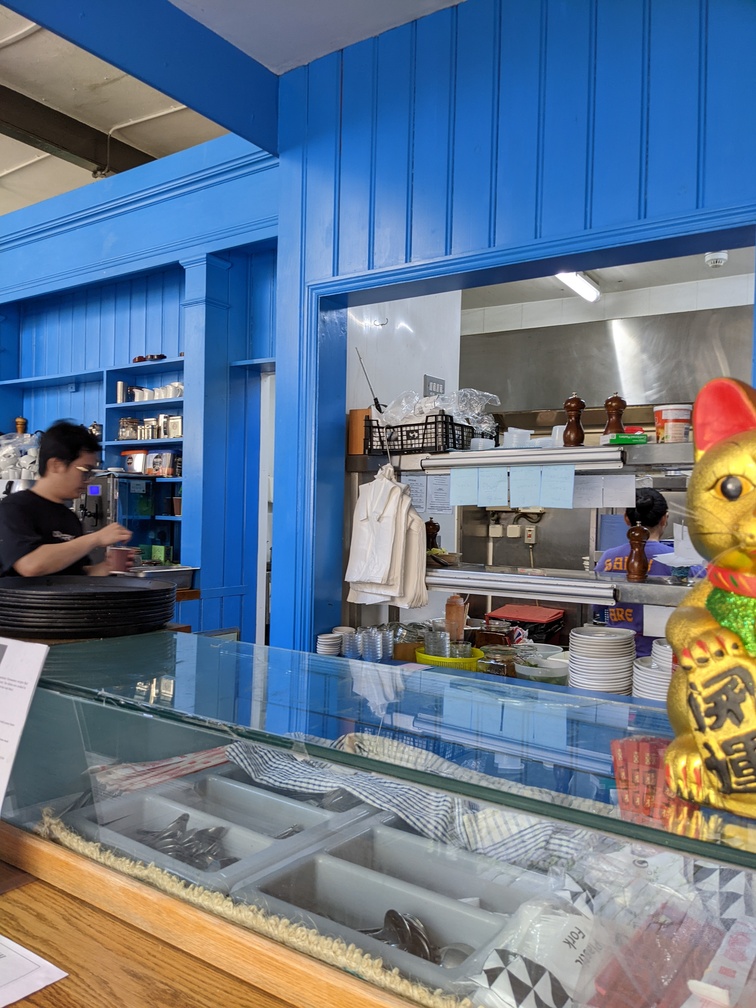
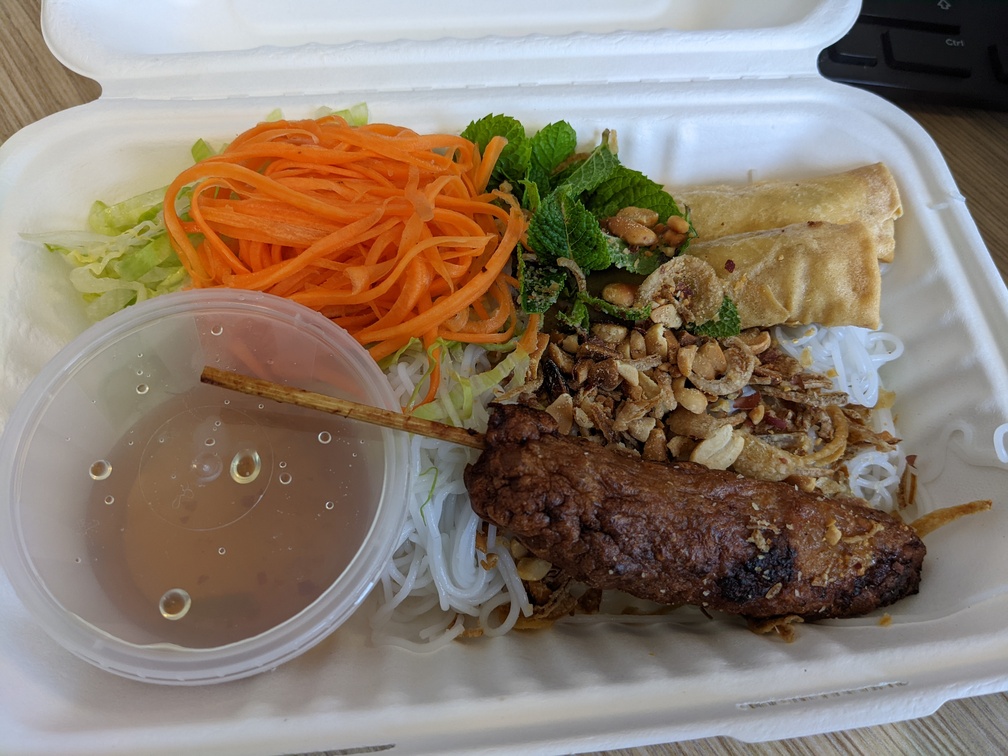
Takeaway counterspring rollsBun thit nuong – Grilled pork and spring roll with noodles (dry)
I spotted this Vietnamese place in St Nicholas Market recently on my venture out from the office searching for lunch. The venue used to be Source which was a food hall and café that I had never been into whilst it was still there. The menu looked pretty authentic and as a good comparison (and also because it is one of my favourite Vietnamese dishes) I ordered the Bun thit nuong (grilled pork with noodles that comes with a Nuoc cham, Vietnamese dipping sauce) and a side of Cha gio (spring rolls) as I didn’t realise the Bun thit nuong came with spring rolls but it was a Friday so nevermind!
I find Nuoc cham that goes with Bun is usually a good tell tale of flavours for a restaurant as every family has their own recipe.
Whilst waiting for my takeaway, I found out they opened during the pandemic in April 2021 and after riding through the pandemic storm, the place seemed pretty popular for working lunches as the customers kept coming in asking for tables. Some even ordered ahead. It’s a big space with seating and a counter to order your takeaway but where it is situated at the main entrance it does look a bit confusing as to whether you’re waiting to collect your food or waiting to order. There was an empty deli shelf opposite the counter and I understand their plan when they opened was to launch this to cater for more takeaway food.
I must say that the food coming out of the kitchen for diners whilst I sat there waiting for my order looked very appetising with good portion sizes. The Pho bowls and dine in Buns looked delectable so I was expecting my takeaway to be of a similar standard.
After quite a long wait before finally getting my order, I trundled back to the office with much anticipation. Unfortunately when I opened the boxes I was a bit underwhelmed especially given what I had seen the dining in dishes look like. The takeaway portions seemed a lot smaller and given the cost was the same dining in and takeaway, I was a bit disappointed. The taste was fine as far as Bun thit nuong and Cha gio goes. The Nuoc cham was on the sweet side which I like but I can’t say that I was bowled over with my takeaway order completely. It was a bit disappointing as I had been looking forward to a good Vietnamese in Bristol city centre as they are a bit few and far between.
I think I’ll return and try dining in next time.
FoodieVietnam – St Nicholas Market, 1-3 Exchange Avenue BS1 1JW
@foodievietnambristol
🤤🤤🤤/5
Share this:
Scroll Up
Manage Cookie Consent
To provide the best experiences, we use technologies like cookies to store and/or access device information. Consenting to these technologies will allow us to process data such as browsing behaviour or unique IDs on this site. Not consenting or withdrawing consent, may adversely affect certain features and functions.
Functional
Always active
The technical storage or access is strictly necessary for the legitimate purpose of enabling the use of a specific service explicitly requested by the subscriber or user, or for the sole purpose of carrying out the transmission of a communication over an electronic communications network.
Preferences
The technical storage or access is necessary for the legitimate purpose of storing preferences that are not requested by the subscriber or user.
Statistics
The technical storage or access that is used exclusively for statistical purposes.The technical storage or access that is used exclusively for anonymous statistical purposes. Without a subpoena, voluntary compliance on the part of your Internet Service Provider, or additional records from a third party, information stored or retrieved for this purpose alone cannot usually be used to identify you.
Marketing
The technical storage or access is required to create user profiles to send advertising, or to track the user on a website or across several websites for similar marketing purposes.
Contains information related to marketing campaigns of the user. These are shared with Google AdWords / Google Ads when the Google Ads and Google Analytics accounts are linked together.
90 days
__utma
ID used to identify users and sessions
2 years after last activity
__utmt
Used to monitor number of Google Analytics server requests
10 minutes
__utmb
Used to distinguish new sessions and visits. This cookie is set when the GA.js javascript library is loaded and there is no existing __utmb cookie. The cookie is updated every time data is sent to the Google Analytics server.
30 minutes after last activity
__utmc
Used only with old Urchin versions of Google Analytics and not with GA.js. Was used to distinguish between new sessions and visits at the end of a session.
End of session (browser)
__utmz
Contains information about the traffic source or campaign that directed user to the website. The cookie is set when the GA.js javascript is loaded and updated when data is sent to the Google Anaytics server
6 months after last activity
__utmv
Contains custom information set by the web developer via the _setCustomVar method in Google Analytics. This cookie is updated every time new data is sent to the Google Analytics server.
2 years after last activity
__utmx
Used to determine whether a user is included in an A / B or Multivariate test.
18 months
_ga
ID used to identify users
2 years
_gali
Used by Google Analytics to determine which links on a page are being clicked
30 seconds
_ga_
ID used to identify users
2 years
_gid
ID used to identify users for 24 hours after last activity
24 hours
_gat
Used to monitor number of Google Analytics server requests when using Google Tag Manager