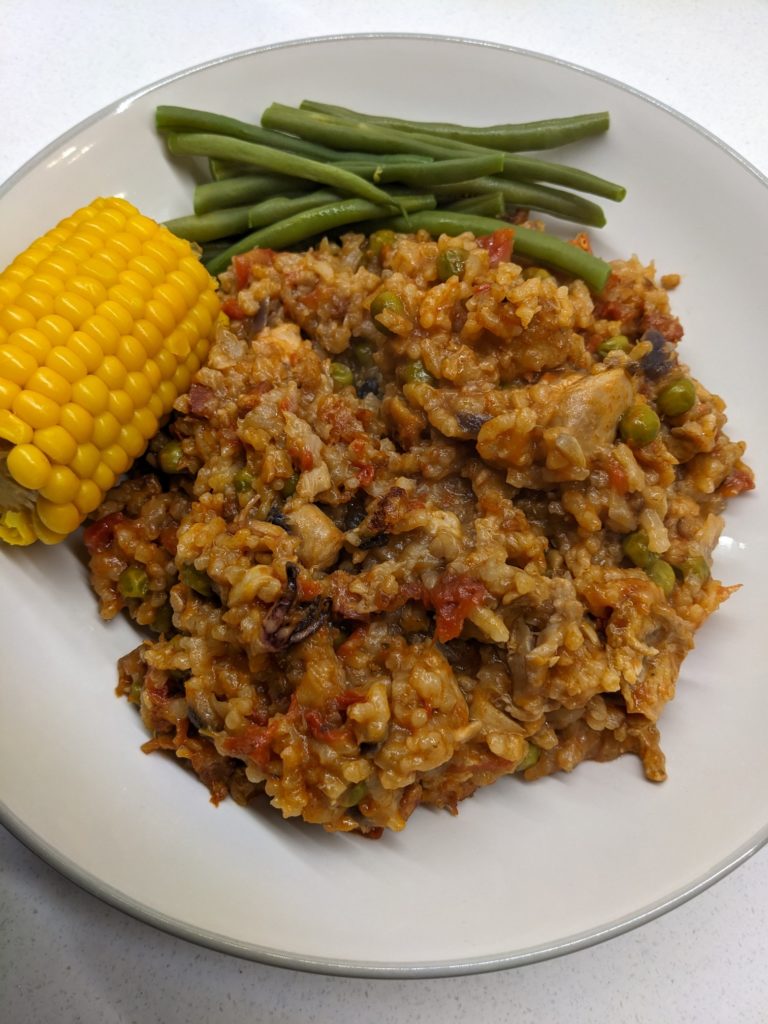
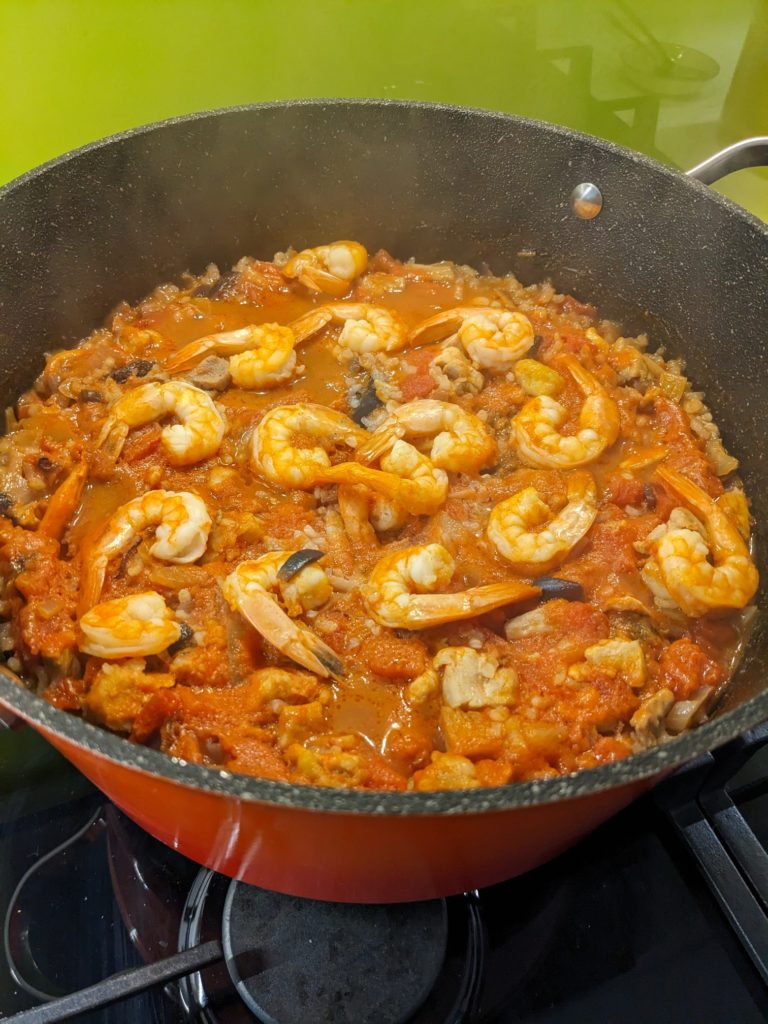
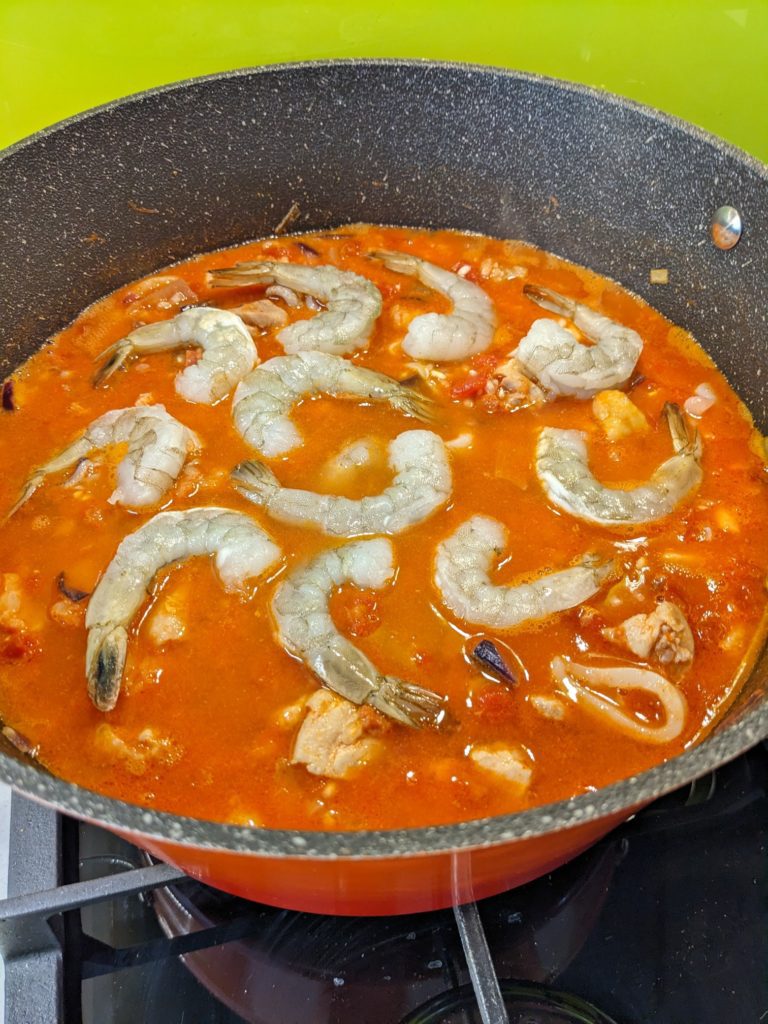
Not a traditional paella of course, but the modified paella recipe is a very versatile vehicle for adding whatever it is that you have to hand. The origin of it is similar to the fried rice in Asian cuisine, or risotto in Italian cuisine – a rice dish with whatever you have or is in season.
Usually I make it with just chicken and chorizo, or just seafood. But I both meat and seafood to hand so decided to do a bit of a ‘surf and turf’ paella. As I have been doing recently, this recipe has no added salt so is toddler and children friendly. If someone is allergic to seafood or you simply don’t like some of the ingredients, just don’t add it. It is unlikely to make the recipe less tasty as long as you’ve got the paella rice in there!
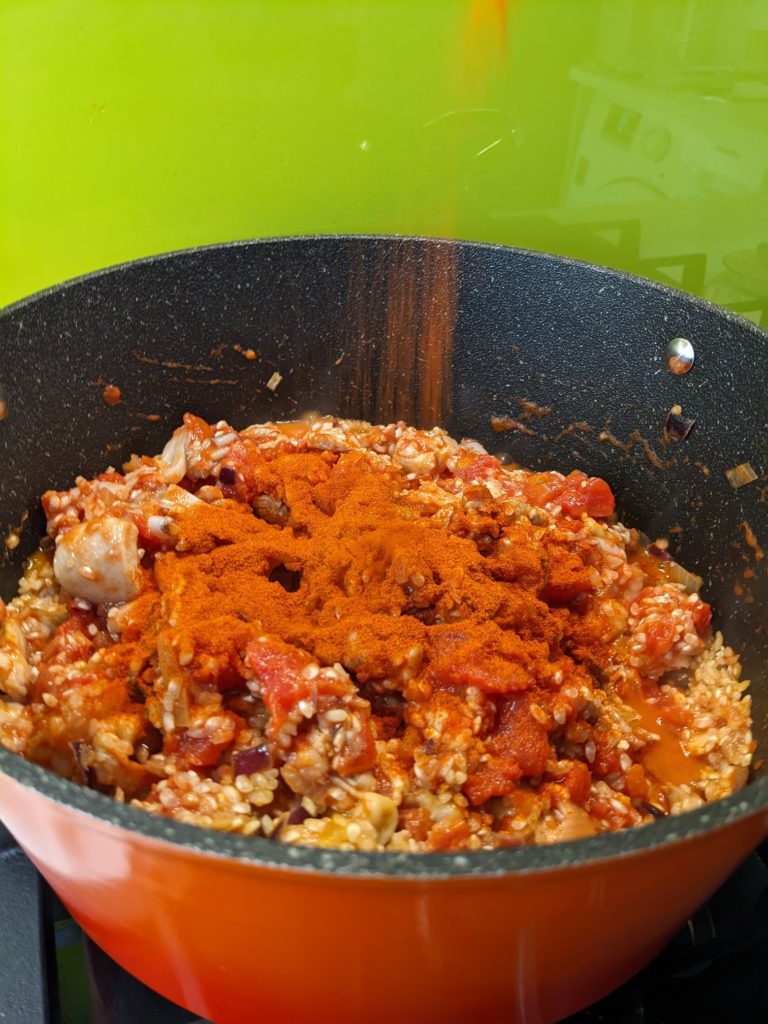
This is a one pot recipe for the busy family. Making enough for leftovers and freezer friendly into portions or ice cube trays ready for your little ones. I’ve added pimenton (Spanish paprika) for taste and colour but feel free to miss it out if you don’t have any or don’t want to use it. Even though this recipe uses no stock or added salt, you’ll be surprised how flavourful it is, purely from the ingredients that you use.
My cooking lately has been dominated by what I can make that the little one can enjoy too. I am also one for batch cooking to make the middle of week dinners a bit easier.
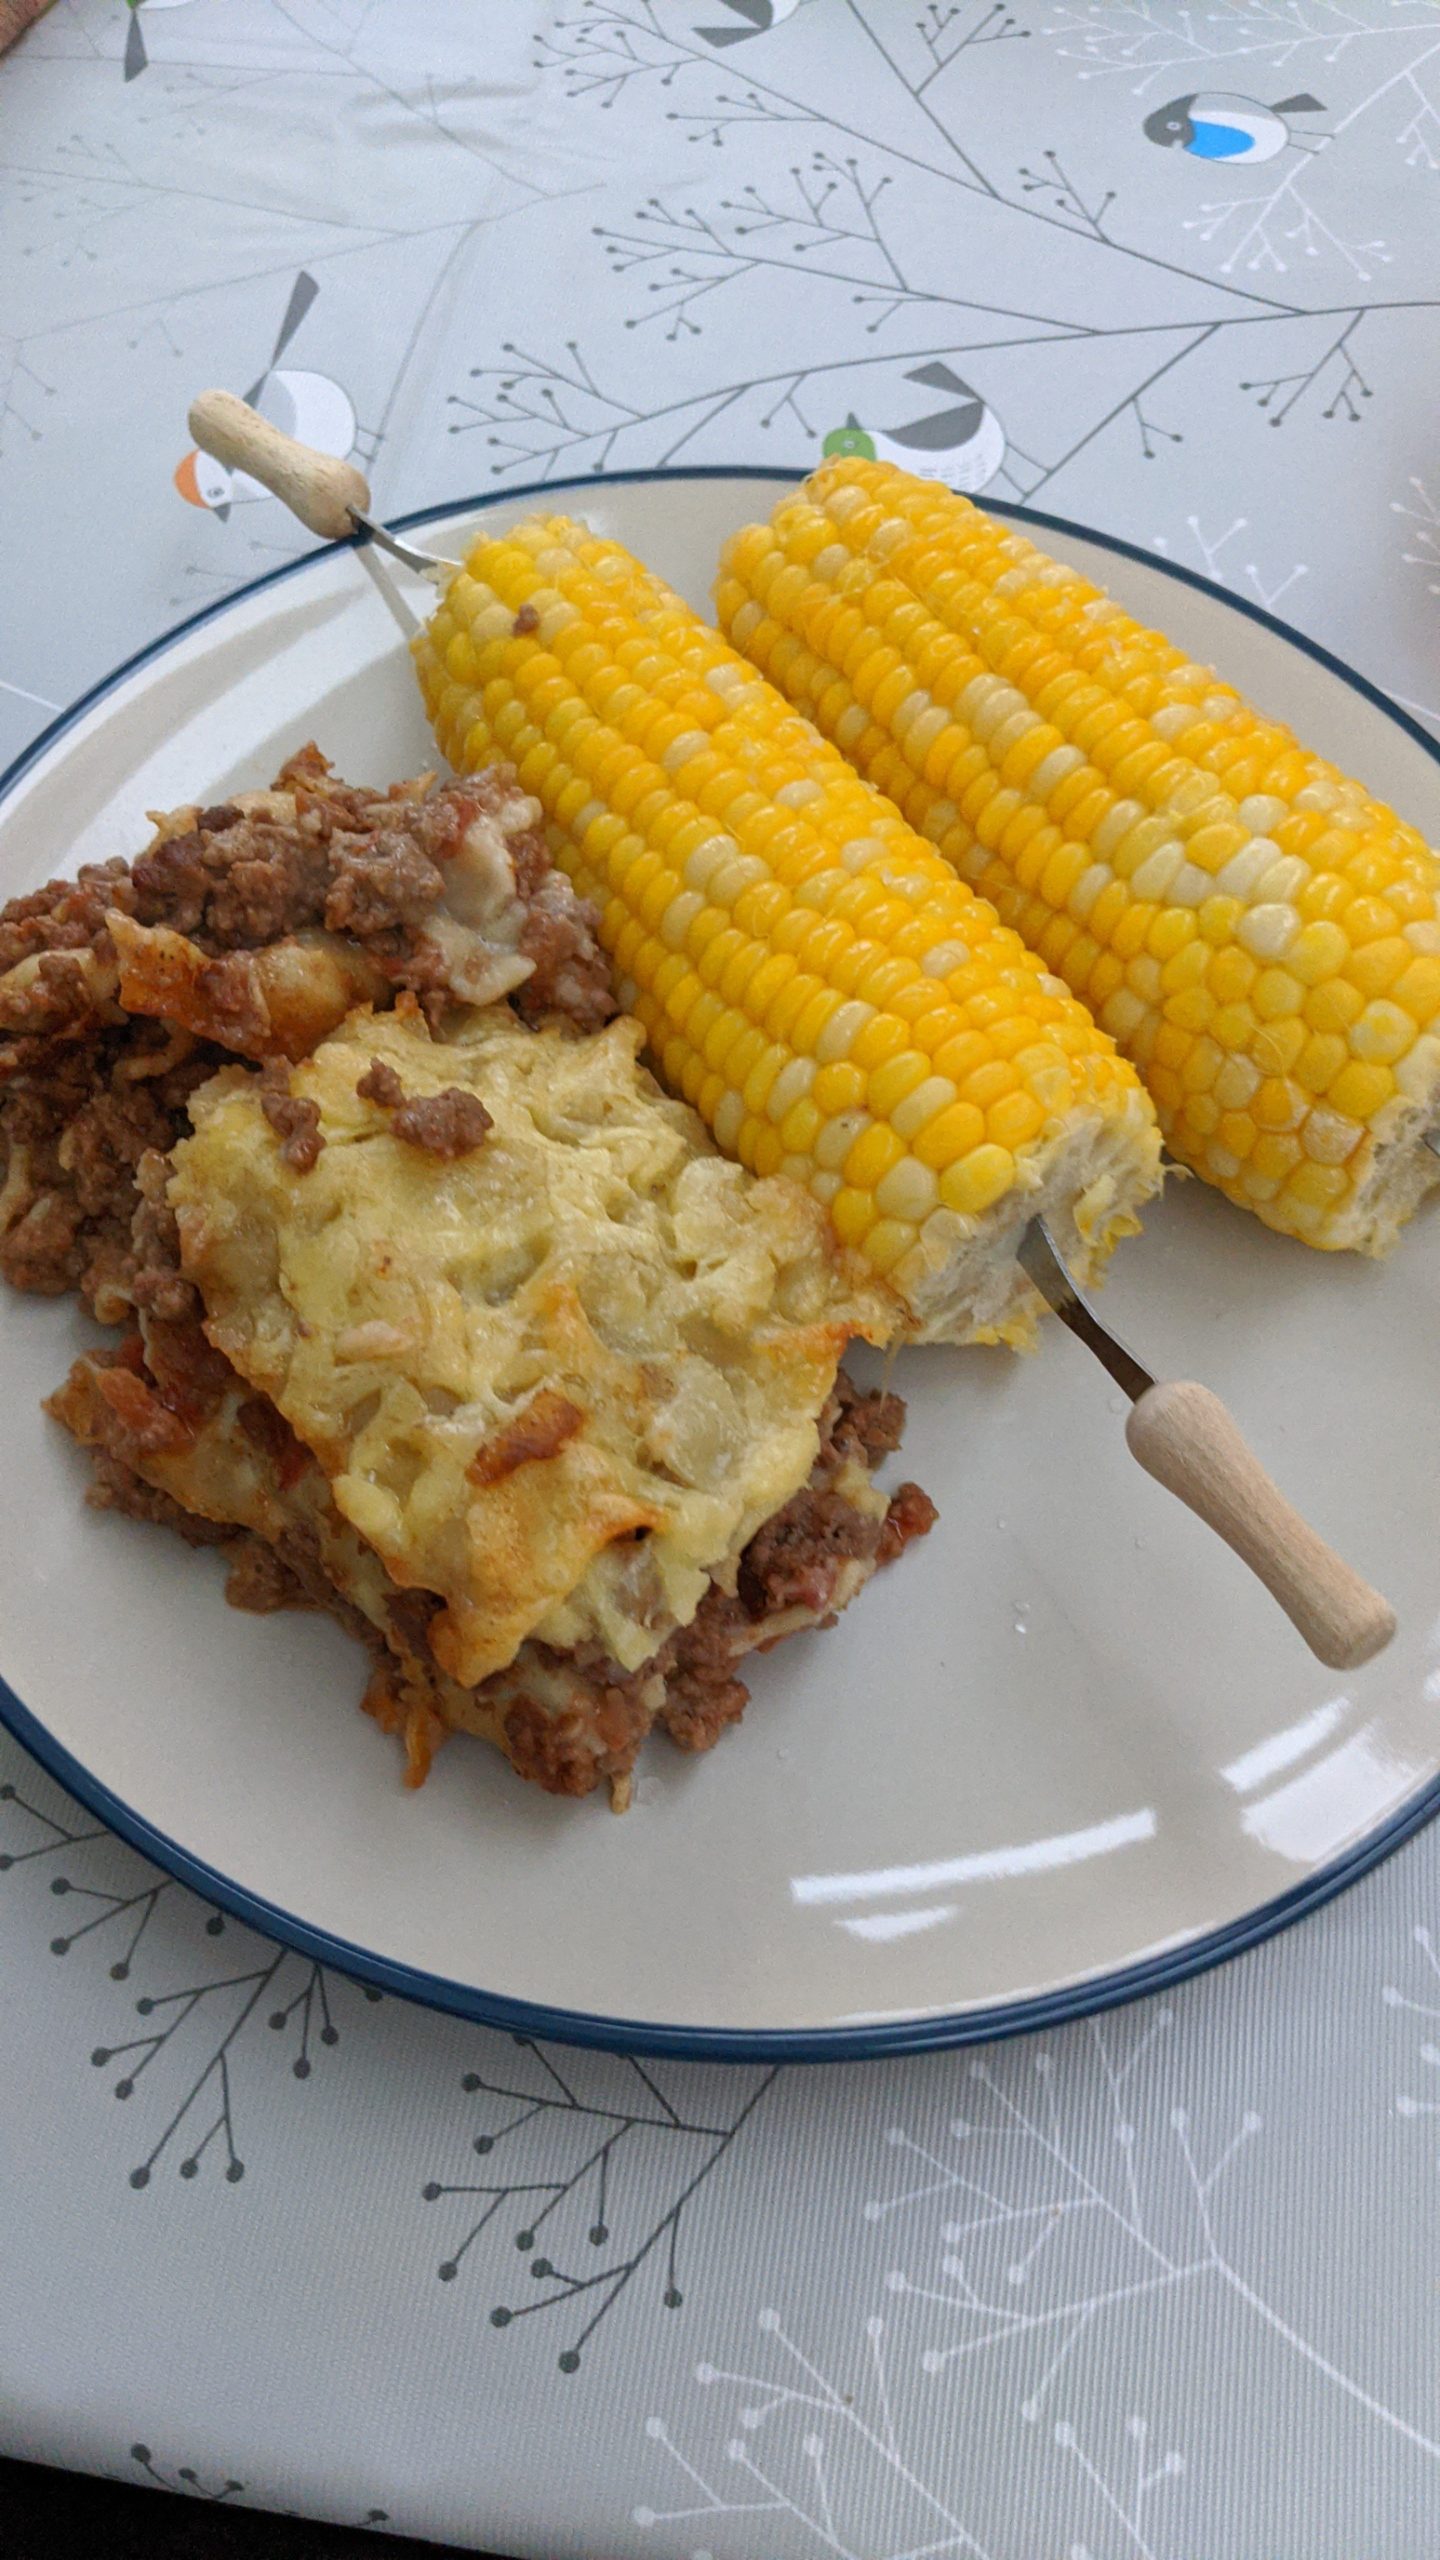
Finished articleServed with sweetcornfor the little one
Lasagne is a great dish to freeze as it can be portioned easily. I usually make it with more beef stock (usually use Bovril) and seasoning, including a dash of Worcestershire sauce in the beef but this time I have only used 1 beef stock for making 2 large trays of lasagne, so negligible really. As a consequence, the beef filling will not be as dark as you would normally expect and will be redder from the tomatoes. The first step of sauteeing the onions and garlic is crucial to allow caramelisation which gives a lot of the flavour. Browning the beef is also very important here. The beef browning process also evaporates some of the water that is in the beef as you don’t want the resulting beef mixture to be too wet.
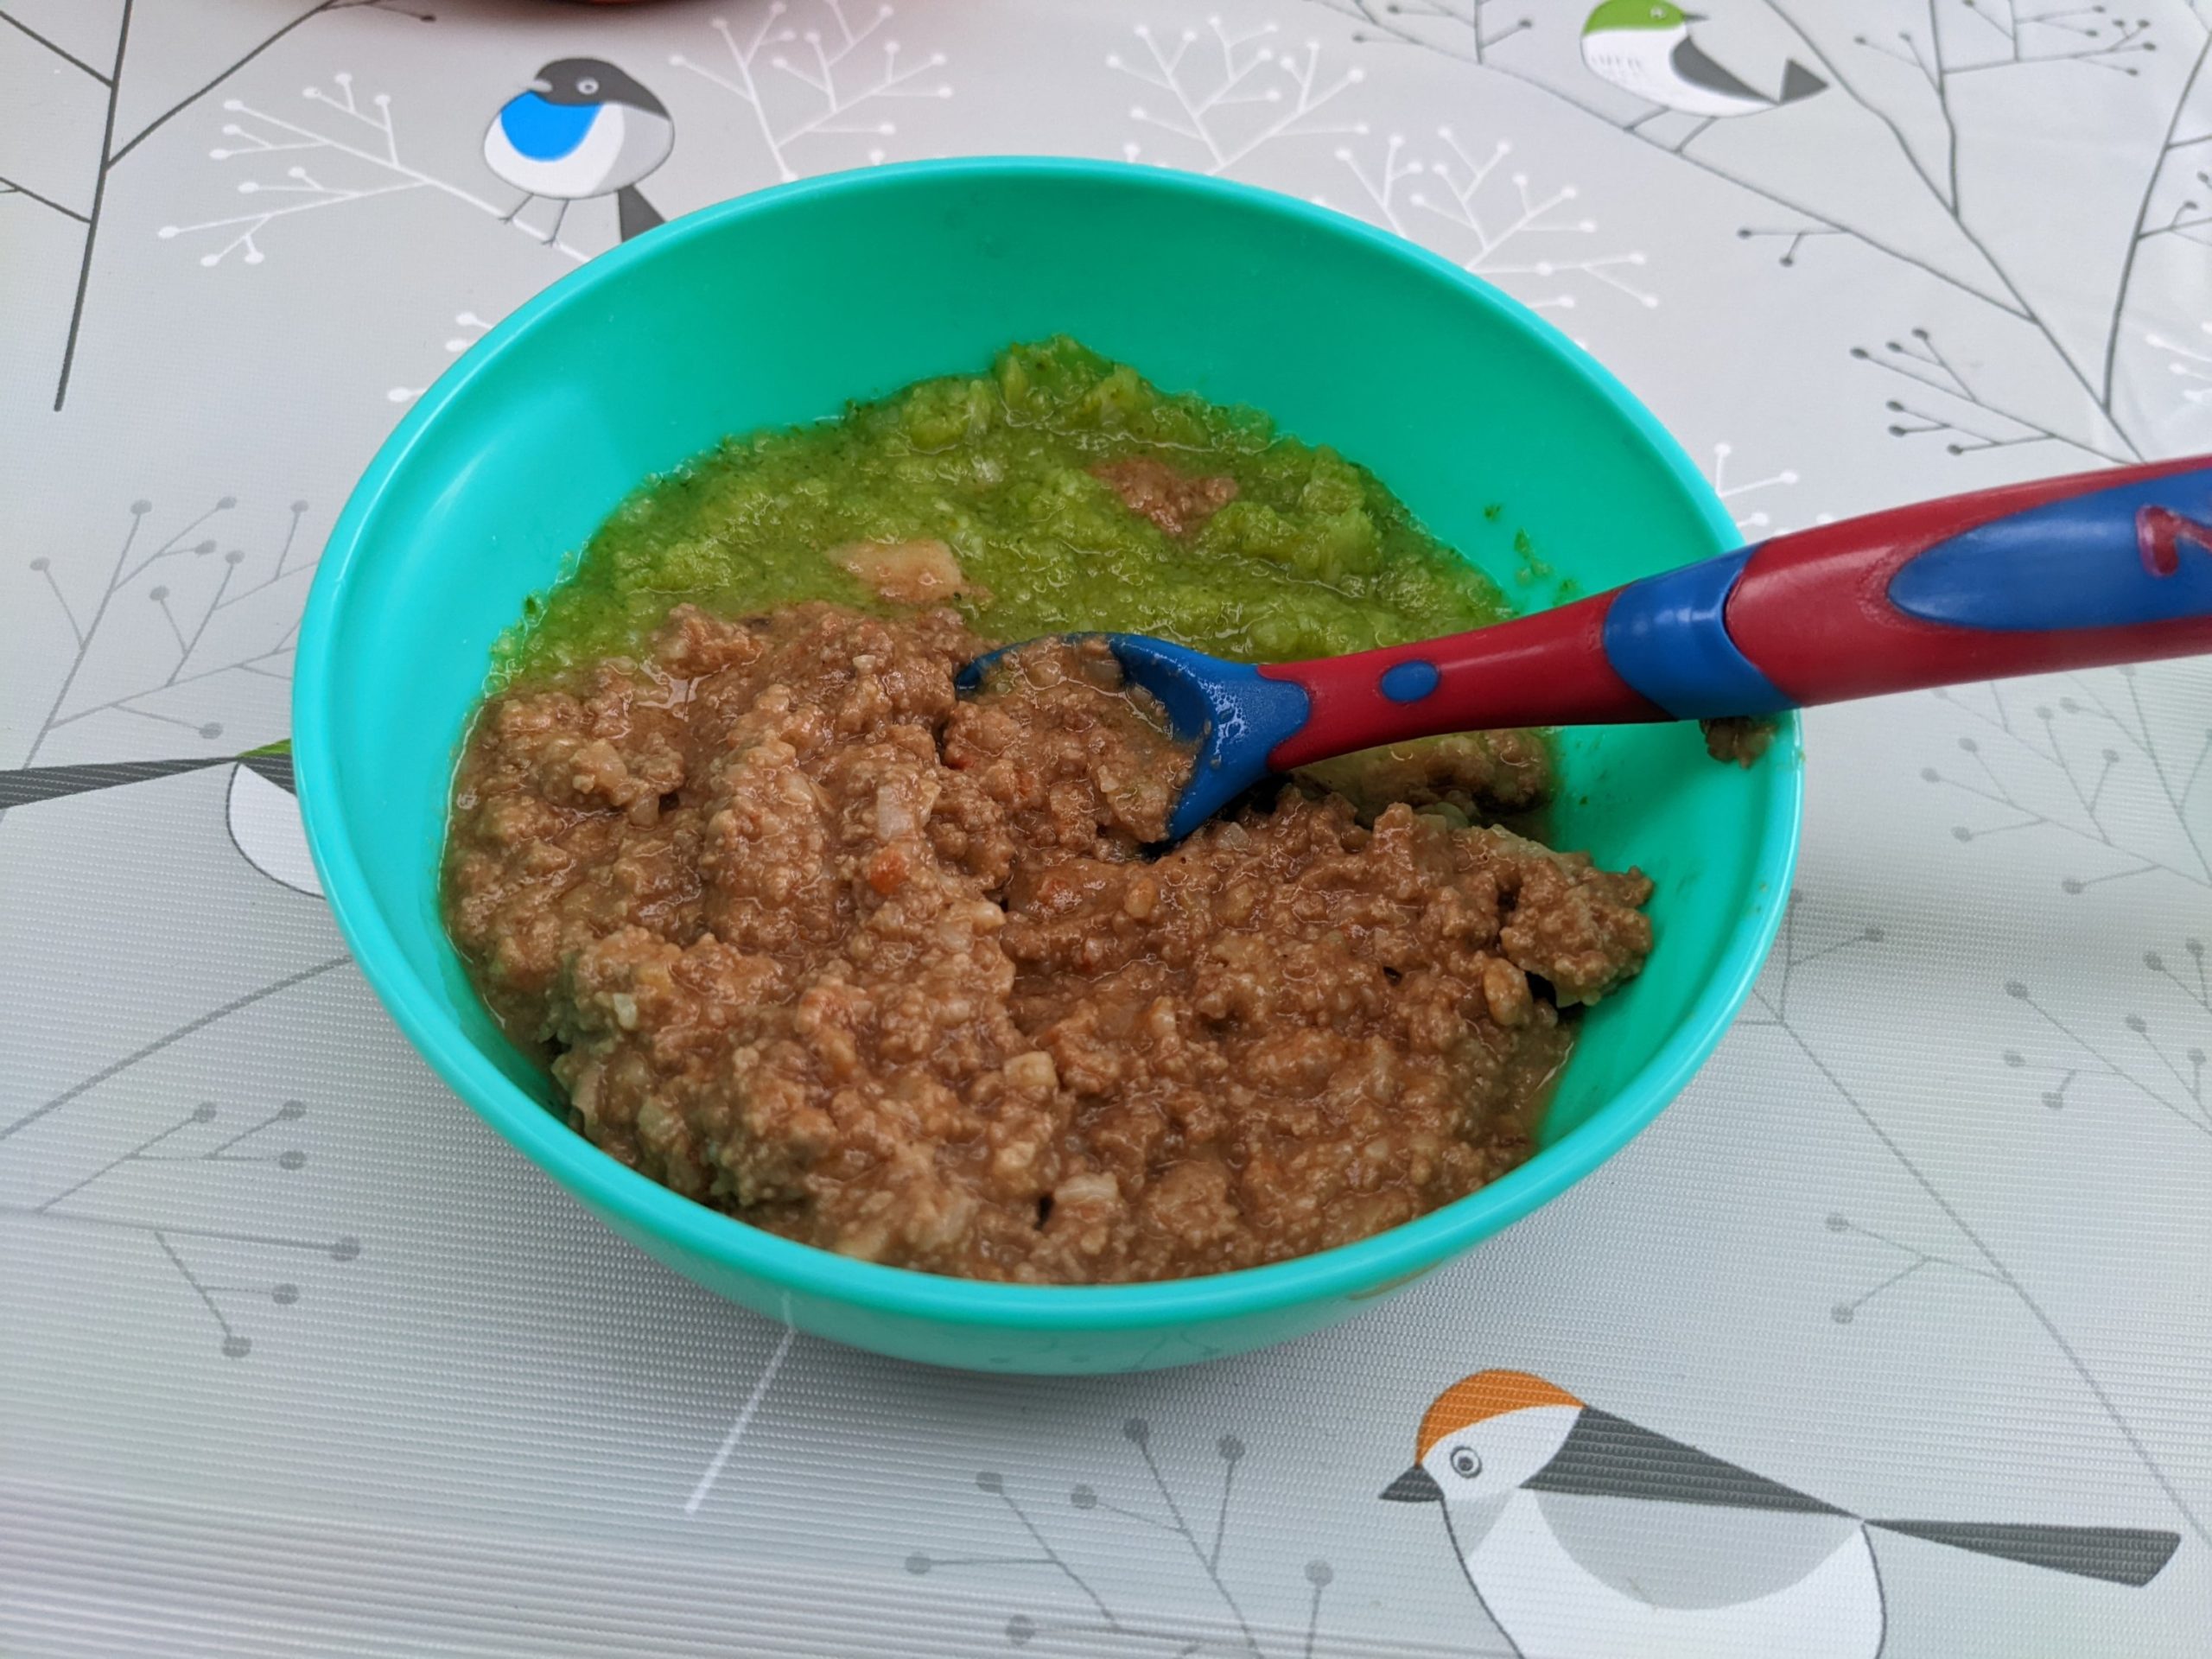
A simple bit of pureeing to your desired consistency will be perfect for your little one. It certainly went down well in our household!
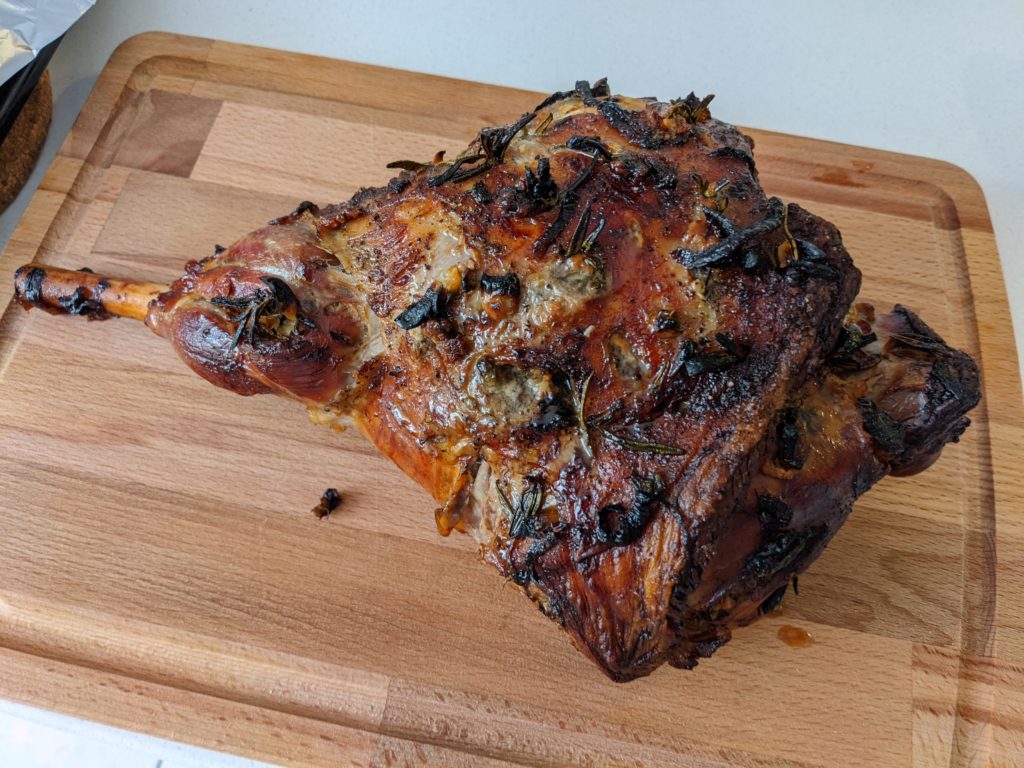
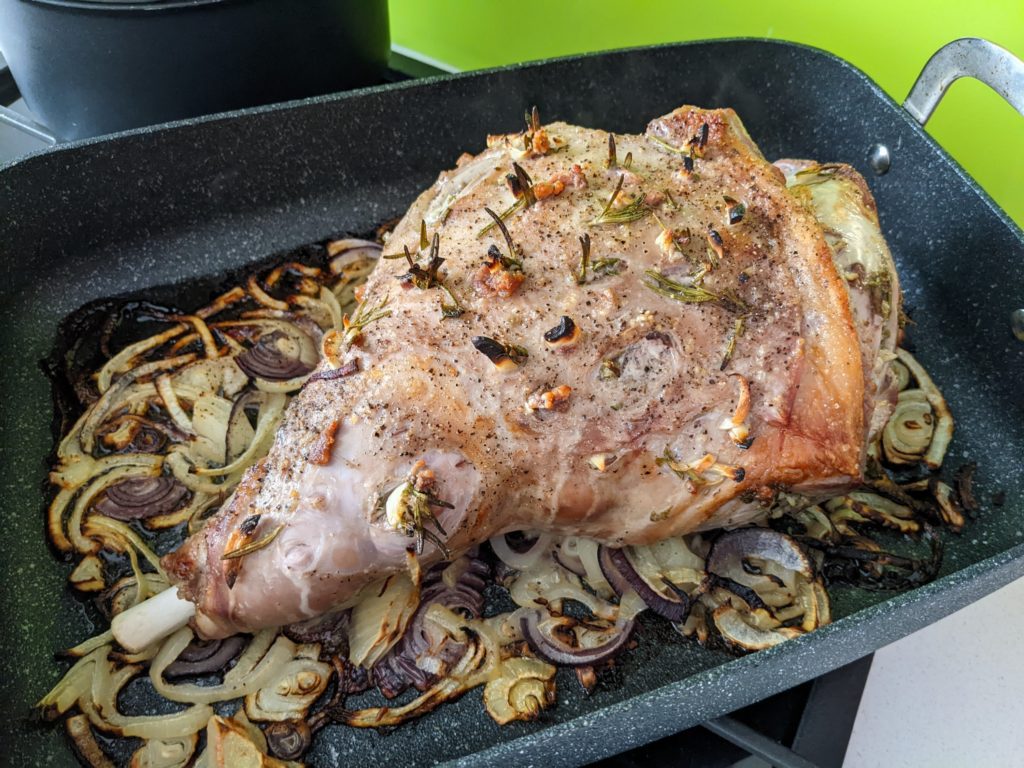
Great cut of meat for a roast if you are hosting family and friends in Spring or just want a lot of leftovers! Don’t be intimidated by haunch of lamb leg, it’s actually very easy to cook with – you just have to allow the extra time in the oven compared to eg. a rolled joint of lamb because of the thigh bone. If you have a deboned leg then it won’t need as long in the oven so adjust your cooking time appropriately.
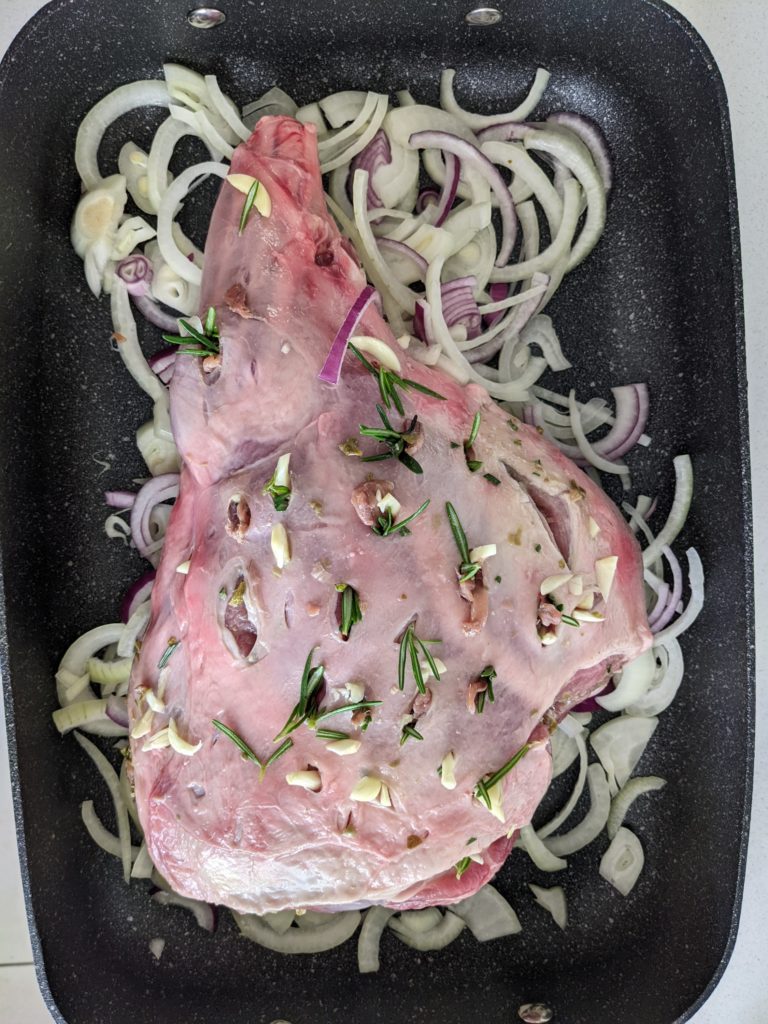
I made this recently for Mothering Sunday and the feedback (although somewhat biased of course!) was very positive. As per all my recipes, I try and use as few pans as possible to minimise the washing up and this is a one roasting tray recipe that also makes its own gravy! The water that you add to the roasting tray actually creates steam within the oven making sure the leg remains as succulent as ever.
Prepped leg before going into the ovenLamb after the initial heat blast before water is added
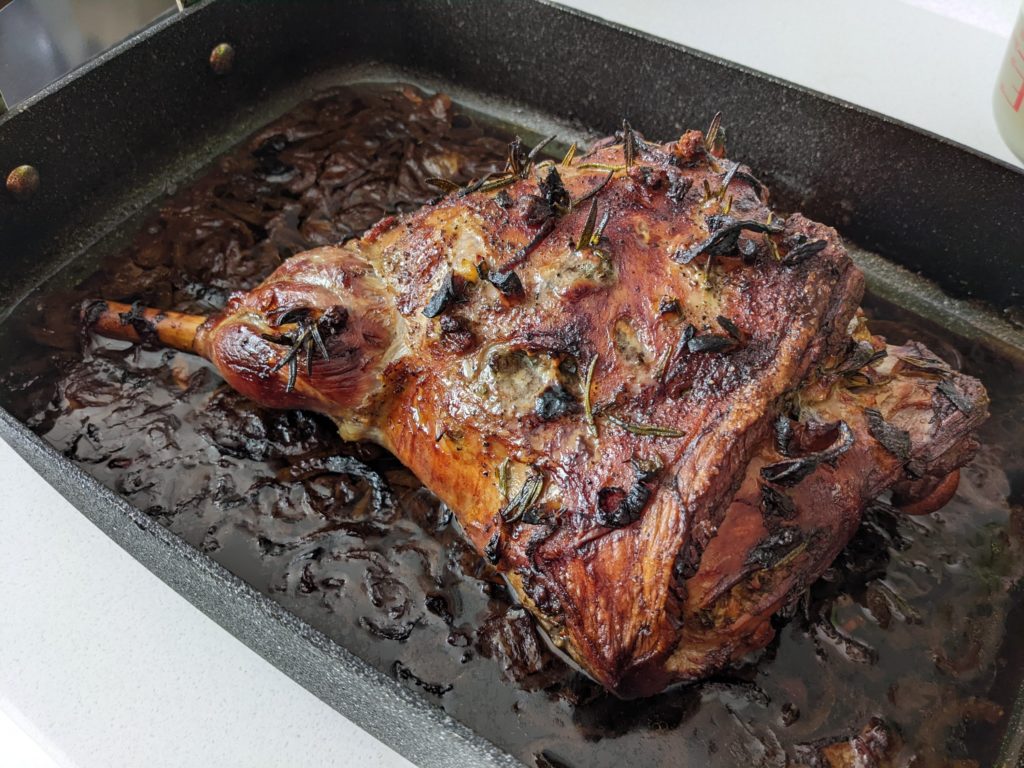
Like all roasts, one of the most important steps is to allow time at the end for the meat to rest before you carve it. The meat continues cooking and the moisture is redistributed throughout resulting in moist meat. So it’s the same for this lamb.
Whilst the lamb is resting on a pre-heated tray tucked up under foil, you can finish off your gravy and the other trimmings to go with your roast. The usual trimmings will do – crispy roasted potatoes, veggies etc. as the lamb itself is already quite flavourful.
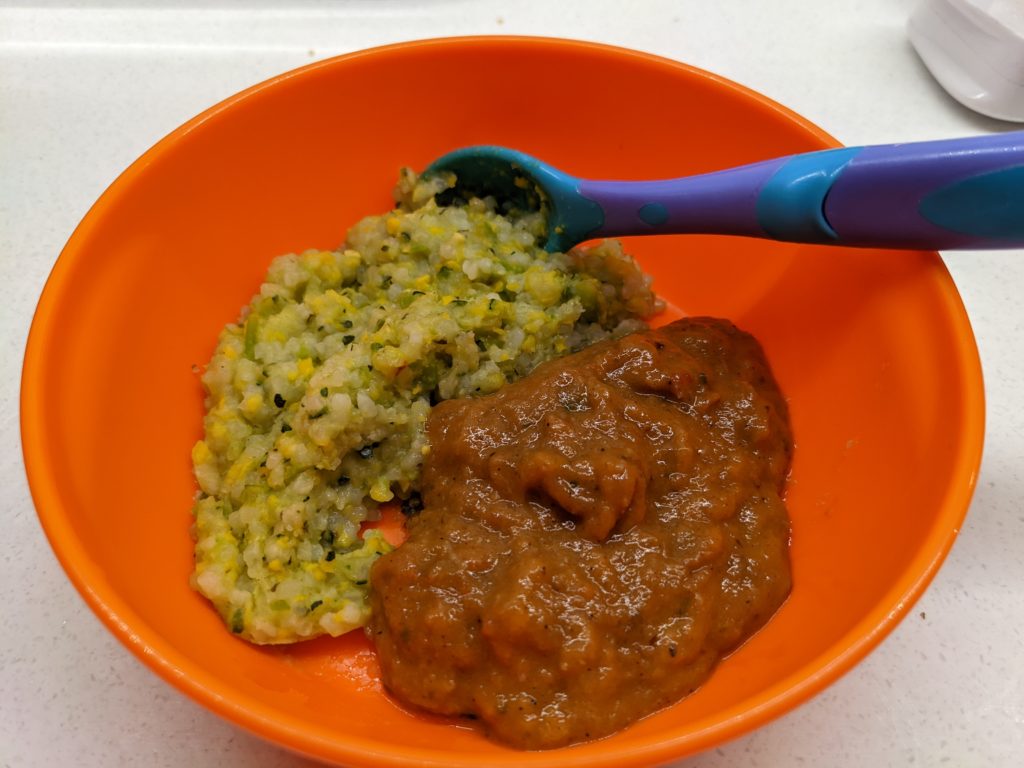
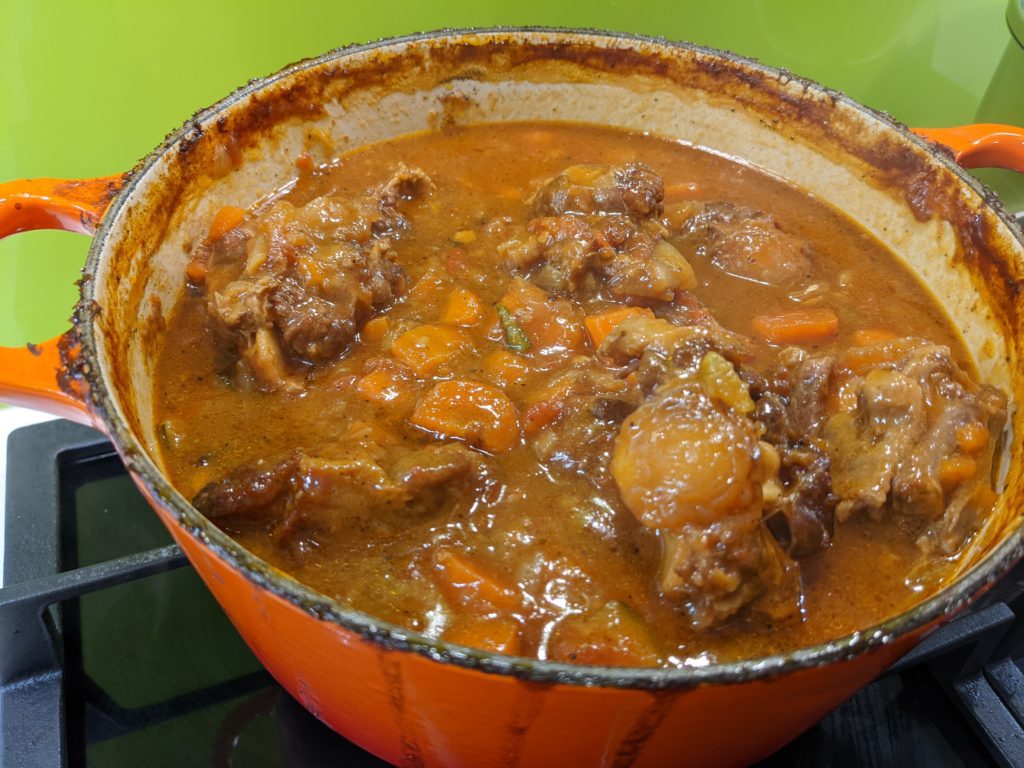
Oxtail stew fit for your baby! And you can have some too!
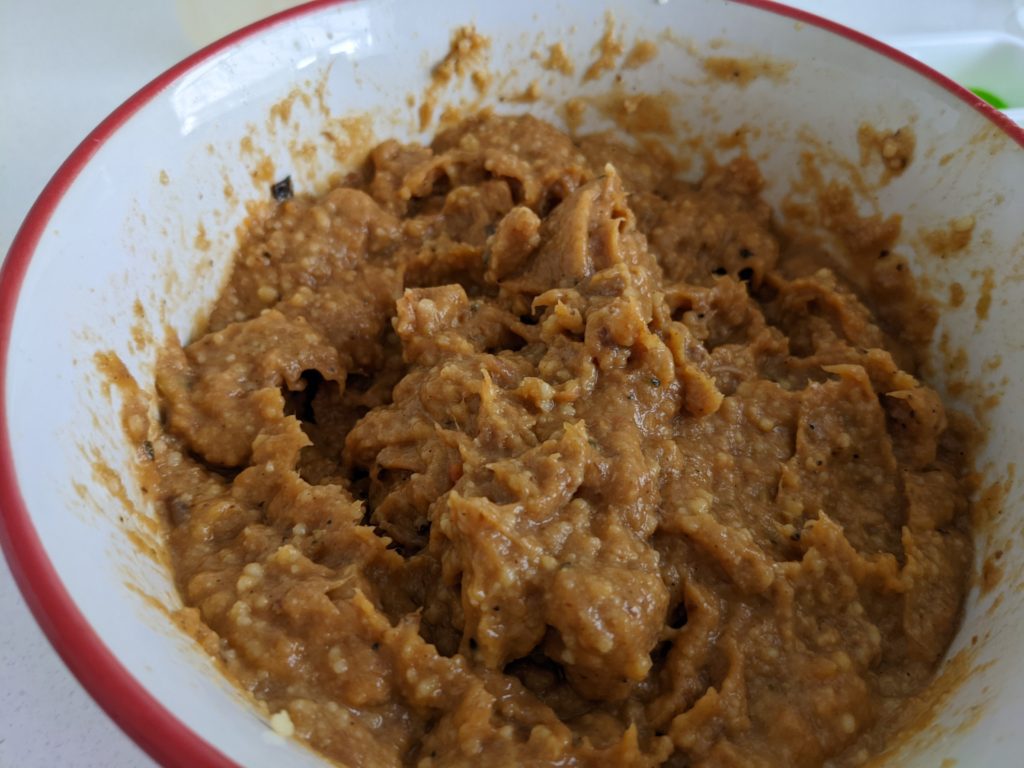
Oxtail stew with added veg for the little oneOxtail stew for youOxtail stew blended with cous cous for the little ones
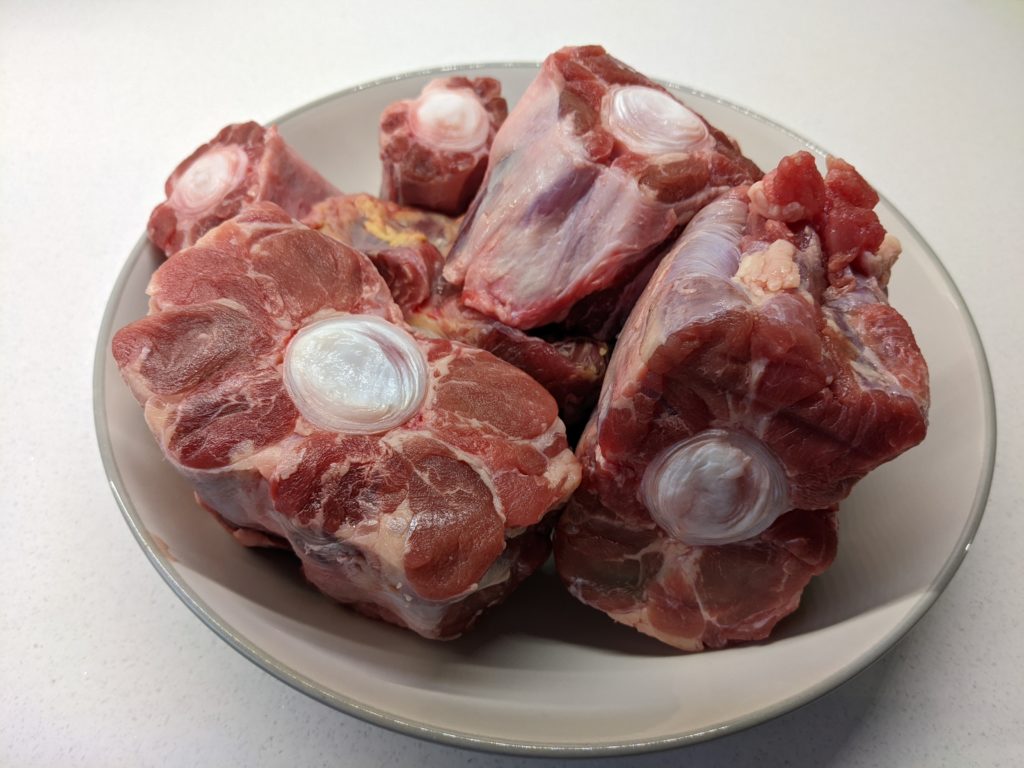
Oxtail is probably not the most obvious thing to feed your little one. It is meltingly tender when stewed and full of collagen. Typical oxtail stew recipes use wine and stock in the cooking liquid which is the way I have always been cooking it. But I had some oxtail the other day and really wanted to share it with the little 👶 so I modified how I usually cooked oxtail but still making sure that it remains rich and tasty for us! Because oxtail is mainly bones, it creates its own stock when cooked so there really isn’t any need to add a stock cube which is, of course, high in salt.
Whilst adding a good red wine to your stewing liquid gives the stew another dimension, to be honest, I’d be more than happy to go without it in the recipe in the future. Except for the glass or two to go with the stew of course!
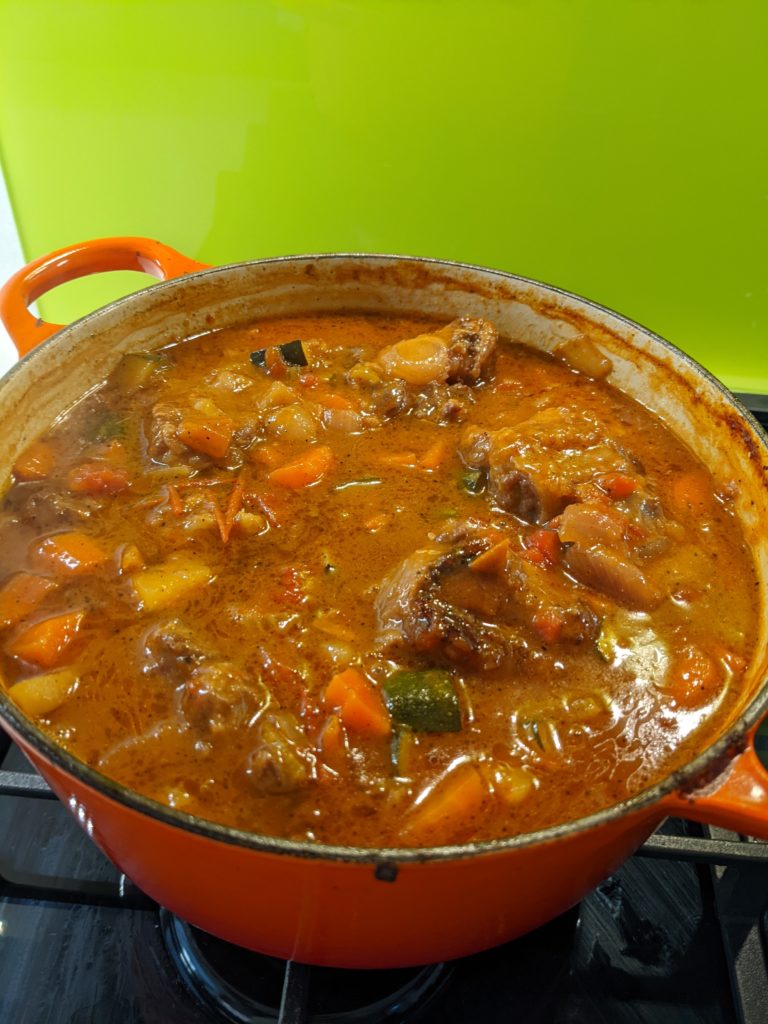
This recipe does take a long time to cook and the longer you cook it, the more tender the meat gets. So if you are able to plan ahead and cook it the day before as suggested, I would highly recommend it. Otherwise, if you are cooking on the day, give oxtail more time to stew if you can before eating. The cooking time in the oven can be extended as you prefer, just keep an eye on the stewing liquid although it shouldn’t dry out too much if you are using a heavy bottomed pot with a lid.
Using the approach of the trio of ‘humble beginnings‘ (aka mirepoix, holy trinity, soffrito, battuto, etc – a really good article explaining what these are at seriouseats.com) of garlic, onions and celery, the ‘beginnings’ of the stew flavours were set without the need for any salt at all.
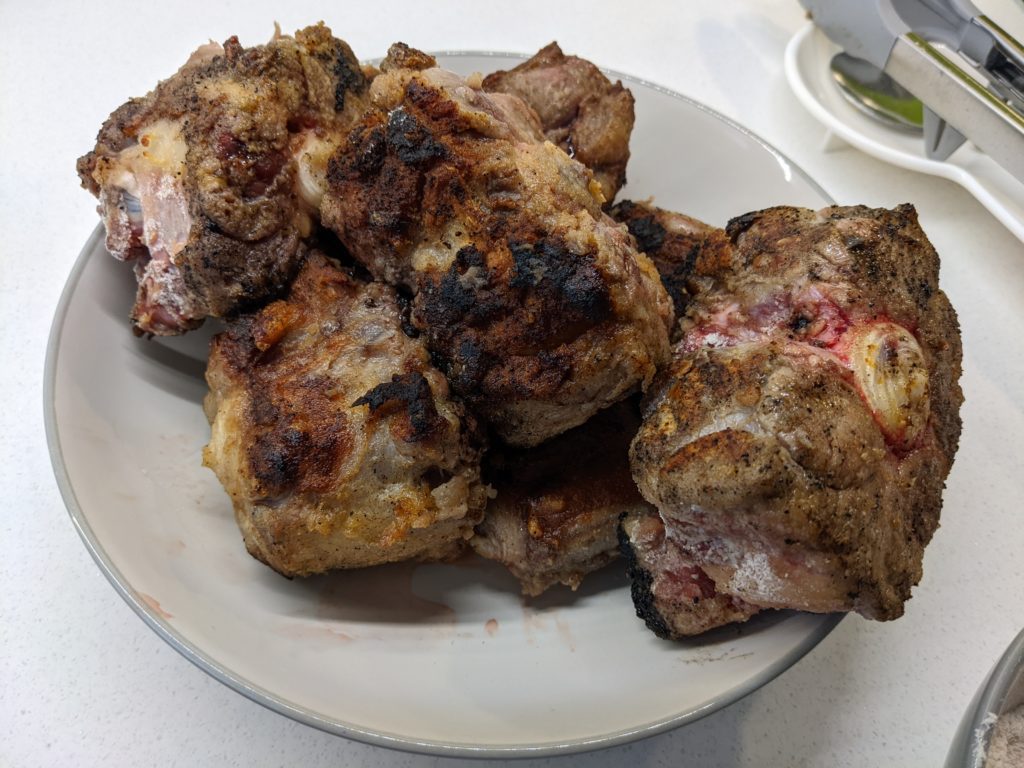
Browning the oxtails first caramelises the meat, again adding an extra layer of flavour to the stewing liquid.
Browned oxtail ready to be used
Not to be too blasé about it, but the rest of the recipe is just about chucking all the rest of the ingredients into the cooking pot and let it stew. So it is actually quite an easy recipe. The vegetables you add to your stew can be any combination you like. A very versatile recipe.
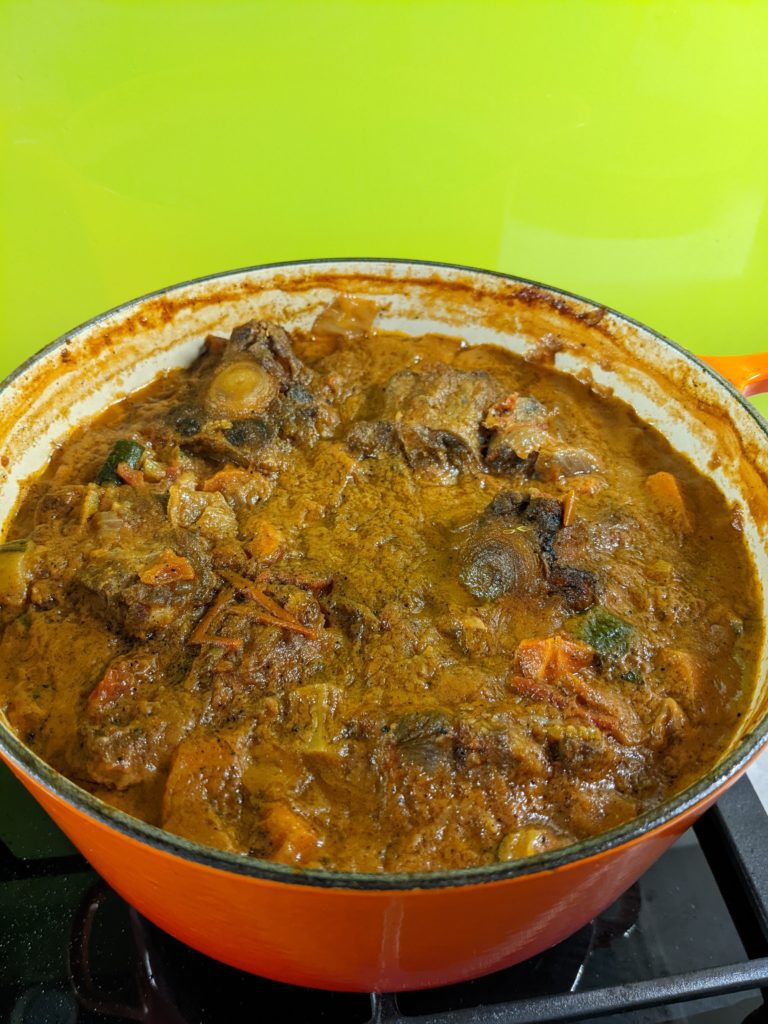
Add all ingredients into the pot ready to bring to the boilAfter boiling and stewing in the oven‘Stewed’ overnightReheated ready to be servedServed with cous cous and green beans. Meat falls away from the bones
I served it with cous cous this time but you can serve it with rice, bread etc. anything that can soak/mop up the rich sauce. With no wine, no salt and lots of vegetables, it’s a perfect recipe to diversify your little ones’ taste adventure. There were certainly no leftovers from either the boss 👶 or the other minion 👨!
roast lamb stuffed with anchovies, garlic and capers
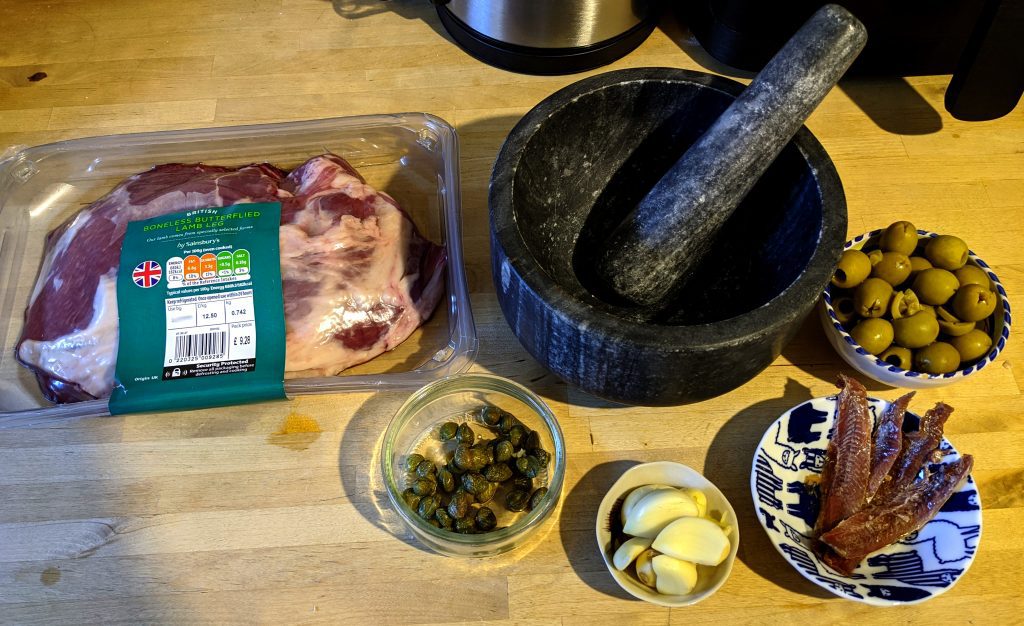
Can’t beat a good ole’ roast lamb on a Sunday. Also can’t go wrong with pairing anchovies, garlic and capers with lamb. So this recipe is for a stuffed lamb shoulder joint with the delicious anchovies stuffing.
boneless lamb shoulder, anchovies, garlic and capers
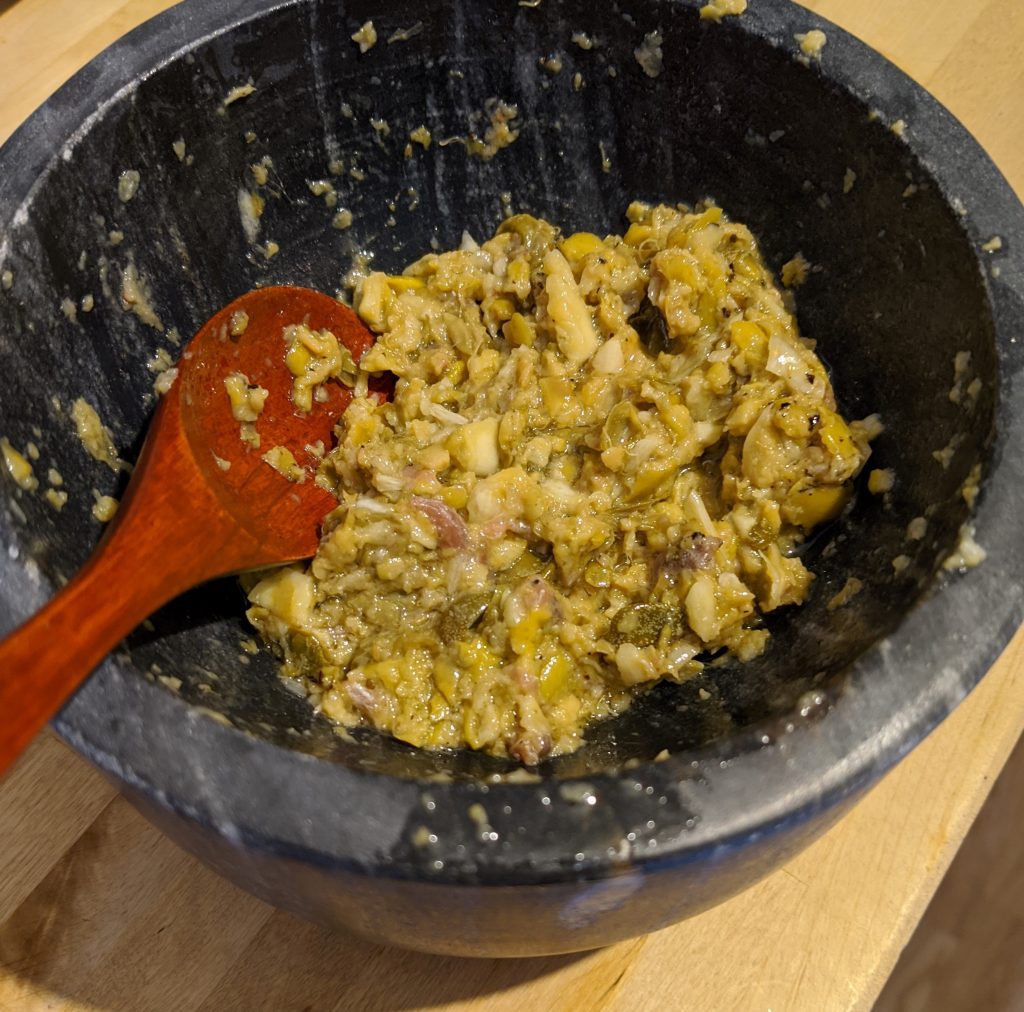
stuffing
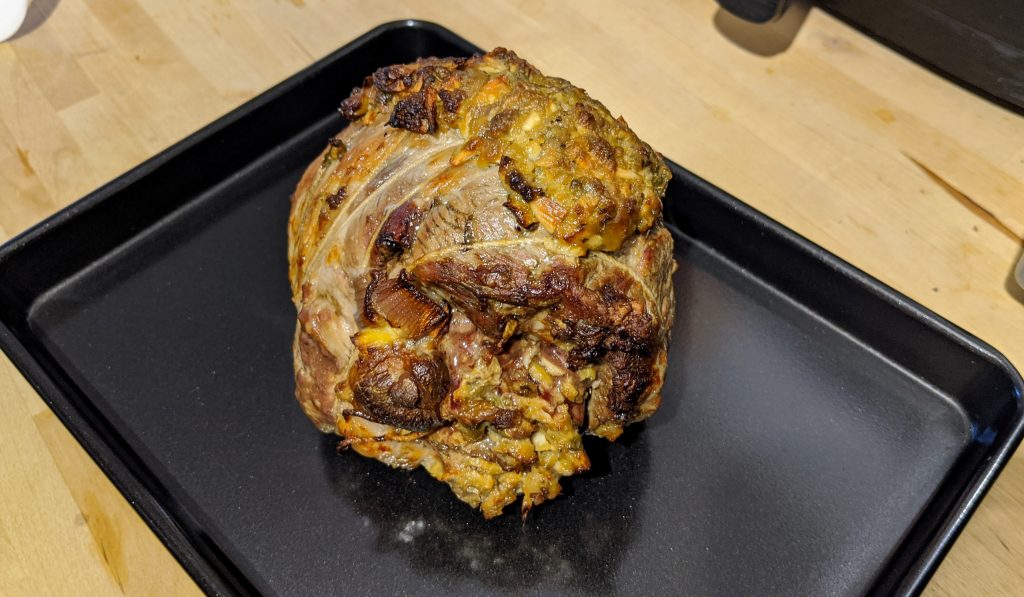
stuffed roast lamb shoulder joint
I used a boneless lamb shoulder joint but you can also debone your own (lamb) shoulder if you want, I went for the easy route this time. Prep your shoulder joint by making small shallow cuts on the surface of the lamb where the stuffing marinade will be smeared on shortly. Prepare your trivet in your roasting tray, I usually use roughly chopped onion, carrots or celery, any vegetables that will create a layer at the bottom of your roasting tray so that your meat can sit on the vegetable bed rather than directly on the tray. It helps the juices from the meat run down during cooking which can be used for making the gravy later.
To make the stuffing, chop up some anchovies, 3-4 cloves of garlic and around 10-15 capers then place these in a pestle and mortar with some ground sea salt for the mixture to grind against. Add a glug of olive oil (or use some of the oil from the tin of anchovies) to the stuffing mix before pounding this mixture with the mortar until you get a rough paste.
Now spread roughly half to two thirds of this stuffing on one side of the lamb shoulder joint, massage it in. Roll up your shoulder joint and use some cooking string to hold the joint together. Place the joint roll on top of your trivet in the roasting tray and spread the remaining anchovie mixture on top of the joint, like a crust.
Pre-heat your oven to 200C, pour approximately 1 cup of water into the baking tray before placing a piece of foil loosely over the joint on the tray. This will create a little steam within the foil and your crust won’t be burnt to a crisp. Once the oven has been pre-heated, place the lamb in the oven and turn the temperature down to 180C to cook according to the weight of your joint. In the last 30 minutes, remove the foil for the remainder of the cooking time to allow some browning.
At the end of the cooking time, remove the meat onto a pre-heated tray and cover tightly with foil to allow to rest for 15-20 minutes whilst you prepare the gravy and everything else. Carve and serve with roast potatoes and veg of choice.
roast lamb stuffed with anchovies, garlic and capers
roast lamb, roast potatoes, carrots and suede
Happy eating!
Scroll Up
Manage Cookie Consent
To provide the best experiences, we use technologies like cookies to store and/or access device information. Consenting to these technologies will allow us to process data such as browsing behaviour or unique IDs on this site. Not consenting or withdrawing consent, may adversely affect certain features and functions.
Functional
Always active
The technical storage or access is strictly necessary for the legitimate purpose of enabling the use of a specific service explicitly requested by the subscriber or user, or for the sole purpose of carrying out the transmission of a communication over an electronic communications network.
Preferences
The technical storage or access is necessary for the legitimate purpose of storing preferences that are not requested by the subscriber or user.
Statistics
The technical storage or access that is used exclusively for statistical purposes.The technical storage or access that is used exclusively for anonymous statistical purposes. Without a subpoena, voluntary compliance on the part of your Internet Service Provider, or additional records from a third party, information stored or retrieved for this purpose alone cannot usually be used to identify you.
Marketing
The technical storage or access is required to create user profiles to send advertising, or to track the user on a website or across several websites for similar marketing purposes.